3 Skills to Teach Your Tween to Help Them Be Successful Young Adults

3 Skills to Teach Tweens

After years of teaching, having my own child and consistently being around children- I believe these skills will help your tween be successful young adults. Everyone wants to be the parent who is praised with how good their child is, right?
But let’s be real, our kids (just like us) have good days and bad. This is why it’s a good idea to keep our eye on the prize- we are parenting them for life. Teaching them skills that they will use for their entire life. And boy oh boy, “learned” habits can be your best friend or worst enemy.

So let’s start off with one of my favorites!
Be a problem solver not a problem creator. 
Think about a few successful people in your life, or even throughout modern history. Talk with your tween about them (cater to their interest). Whether that person recreated the wheel or simply found a better way to create a solution- it made them successful. But why?
Because people with the mind set of solving a problem don’t give up, they keep turning the 3D module to gain a different perspective. On the flip side- a problem creator is stopped in their tracks because things get hard or seem to be impossible. Encouragement and setting an example are great ways to put this into practice.

Teaching your child to identify issues and allowing their wheels to turn. Having them come up with a solution or multiple! Don’t be too quick to fly into the rescue and fix everything. Instead, walk them through the process.
A sample conversation may look like this:

“What’s the problem?”…… “Oh I’m sorry to hear that, how do you think you can solve that problem?”
** If they seem stuck, try throwing out a silly solution that you know won’t work but can lighten the mood. Then it will allow them to identify what won’t work, which is one step closer to what will work 🙂
Continue the conversation… “How is that working out for you”…. “Why do you (or why don’t you) think that’s working?”

Identifying their feelings and vocalizing them.
I feel like this is deceptively hard. When our kids were younger we taught them to use their words. Yet somewhere along the way, this becomes more of a challenge. But as with everything else, communication is best.
Now as a mom, I could give you the rundown on how my daughter is feeling most of the time because I know her so well. That however, won’t help her to be successful as a young adult.

Instead, we’re teaching her to identify how she’s feeling and talk about those feelings out loud. Then, trying to respond appropriately. Now, this is a huge undertaking and it will be a process. But remember, this is a life skill that we are trying instill.

Two important factors that I’ve recognized having a big impact on a tween, is food and sleep. This is a perfect area for tweens to acknowledge and work on self regulating.
In our house we have really focused on those two things and I’ve happy to report progress is being made. For example, my daughter showed some attitude the other night (shocker, right-lol). She then apologized, and told me she was feeling grumpy and really tired. I felt like standing up and cheering for the simple fact, she recognized and identified…. yeah, a positive step forward 🙂

The ability to talk about feelings in general will allow a healthy outlet, and hopefully diminish the chance of unhealthy choices made in the future.

Look for the silver lining and have a positive attitude. 
Easier said than done- absolutely! What better way for our tweens to learn than by watching us.
Really, the biggest benefit is choosing to be happy. That’s right- it’s a choice. When things don’t go your way and you choose to look at the bright side- you are happier.

I’m sure you know someone who always seems to find the silver lining. It’s an attractive trait for sure. In a friendship, an employee or a significant other. Yet, it doesn’t always come easy- which is why it’s something our kids can benefit from being taught. Even in the hardest circumstances, there are blessings all around us. It’s all in our perception and the power to choose!

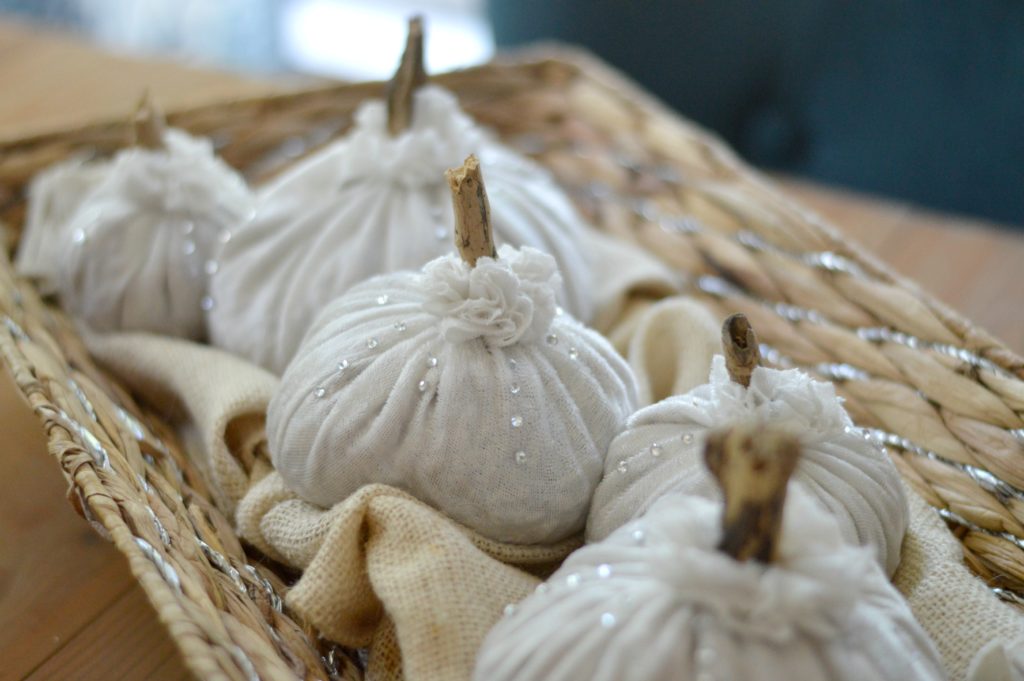


DIY Velvet Pumpkins

These DIY Velvet Pumpkins mix a splash of glam with soft neutral colors!
I grouped them together for my table centerpiece, but you could also add them to bookshelves or side tabletops, so many possibilities.

DIY White-Velvet Pumpkins

Here’s what you’ll need:

-Crushed velvet fabric (I found some at Jo-Anns on sale for $3)
-Package of adhesive rhinestones (on sale for $1.50)
-Pieces of driftwood
-Packages of beans (I bought 3 bags from the dollar store)
-Rubber bands

Step 1
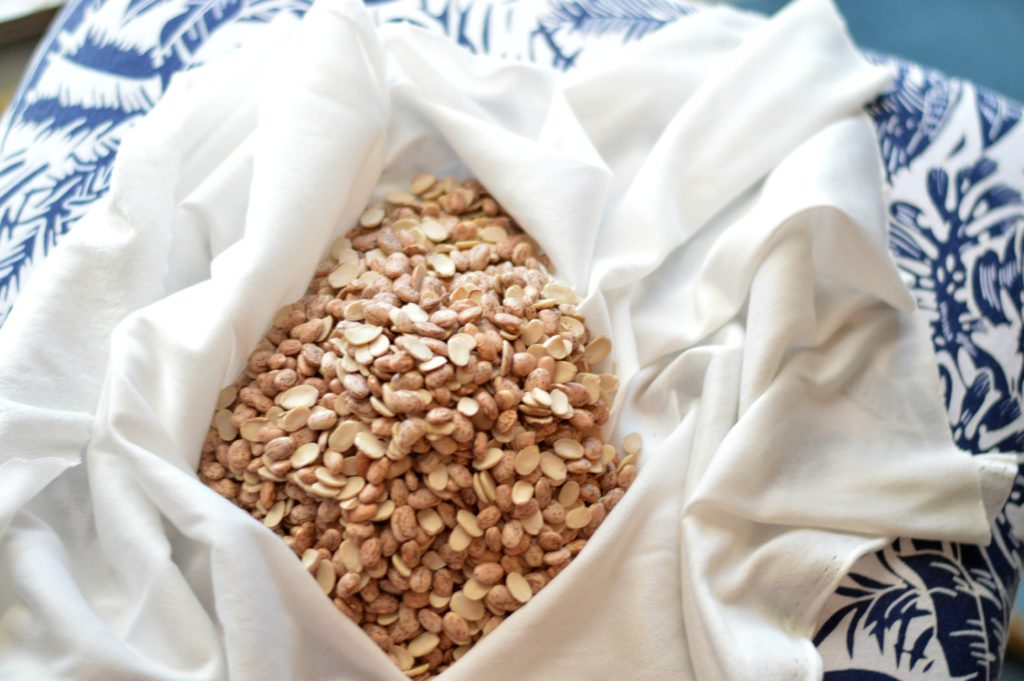
Take your velvet out and cut a section for your first pumpkin. The best part is there is no wrong size. Just about any size of fabric can make a pumpkin. I the center of the fabric and started pouring in the beads. A helpful tip- you can use your fist with the fabric wrapped around as a visual for the ultimate size of your pumpkin.
Start pouring those beans!

DIY Velvet Pumpkin

Step 2
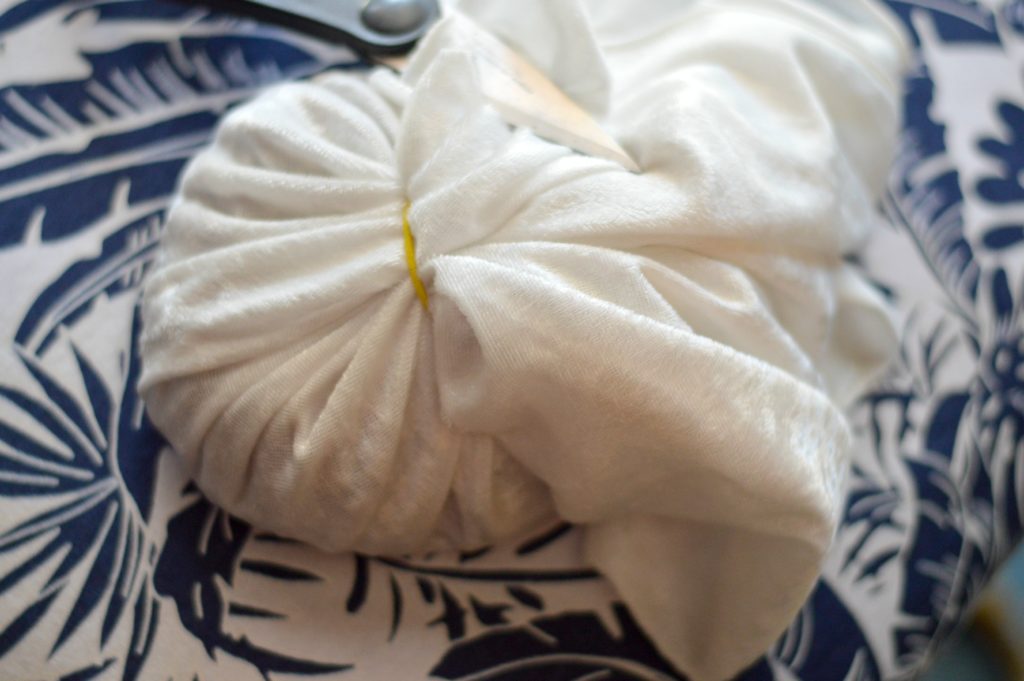
Gather up the velvet around the beans and close it with a rubber band. Trim up the velvet so you have just a little bit of fluff. I liked this look, and it covers the rubber band!

DIY Velvet-Pumpkin


Step 3
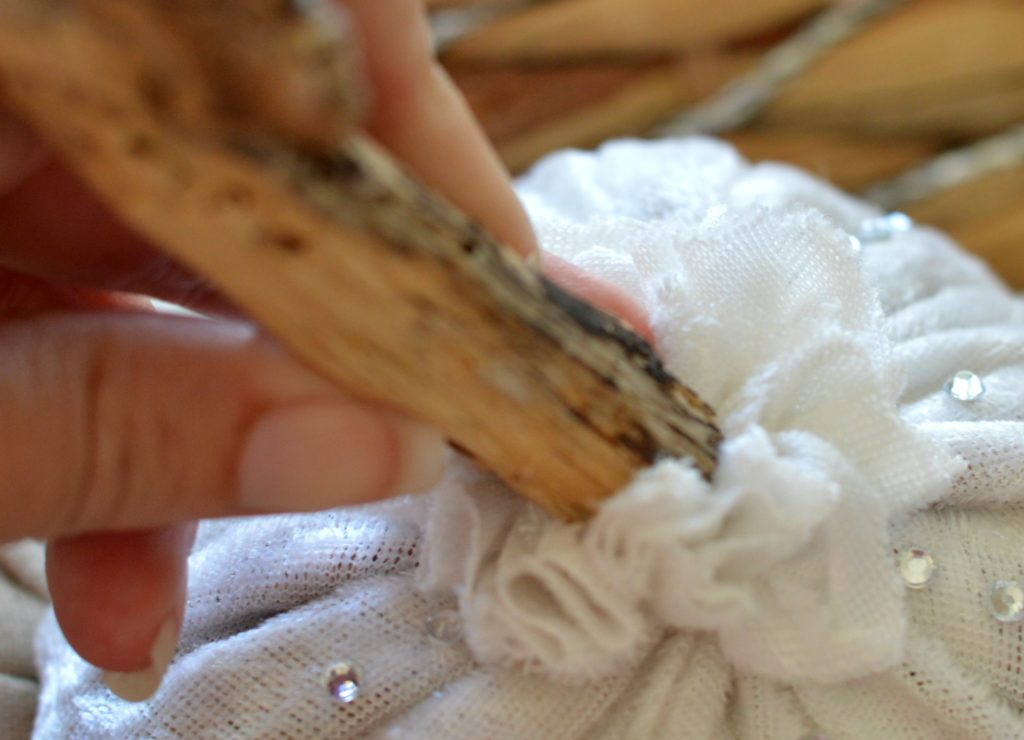
Add in the driftwood stem. The beans make it so easy to insert the wood while still keeping the perfect shape!

-Velvet Pumpkins

Step 4
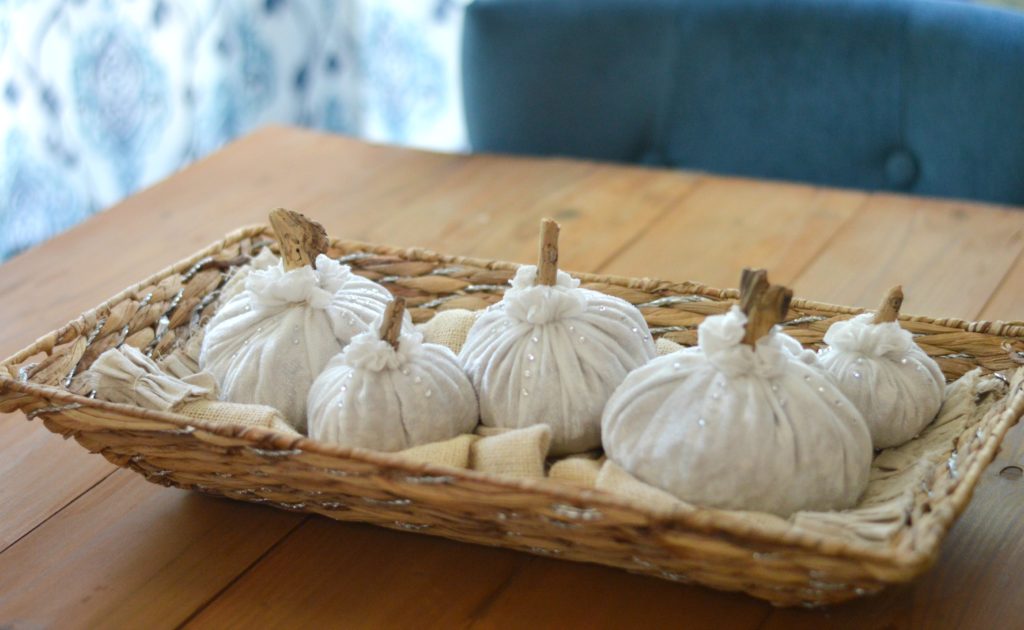
Add some glam. These adhesive rhinestones are so easy to work with. I added more on the bigger velvet pumpkins and made it symmetrical because, well, I really like things symmetrical  🙂

White Velvet Pumpkins

That’s all, now you have your easy to make velvet pumpkins. Of course you can also make these in shades of orange if you are a traditionalist. I use to be, but I’m trying to branch out.

Happy Fall!

Places Love Inspired Details likes to party!

link-party-palooza-button  Funtastic Friday Link Party Thumbnail 150x   The Answer Is Chocolate  Brand Logo HMLP 2015 © The Pin Junkie Pieced Pastimes

grab it button link party silver_pennies_sundays18 

The Night Before Middle School

The night before middle school, every creature was stirring, even the dog!

It’s here, a day I really don’t understand how it arrived. I was just taking my daughter to Kindergarten, really I was. Yea, people say… they grow up so fast, time flies and a dozen other expressions- but they are just words. That is until YOU experience it first hand.

So what do you do the night before, and how can you help prepare your child for this big transition? Here’s a few tips on things we did.

Of course we picked out clothes, made her lunch and even prepared breakfast (yes the night before). These go beyond those basics.

The Night Before Middle School

The Night Before Middle School

First, journal.  I asked my daughter to reflect on her summer. I had her journal about the past couple months, the various camps, family time and anything else that made an impression. Then I asked her to write down her thoughts about starting Jr. High. I don’t like to lead with a common phrase, “good and bad” because I instead prefer an open ended statement.
The truth is, they probably won’t be able to recite these exact feelings about summer and summer details better, than right now. It will be such a great snapshot for them in the future to look back on.

Second, remind them how powerful words are. I’m sure you’ve talked about it before but they’re still kids and need lots of reminders 🙂 The best quote I’ve heard, with the impact I’m looking for:

Once you’re words are said, they can only be forgiven not forgotten.

Being responsible for your words, and reactions are a big part of growing up!

Third, be friendly. What do you want to do when someone smiles at you- smile back, right? A smile is inviting and welcoming! Don’t be afraid to introduce yourself to someone new. Spend more time asking about them, than talking about yourself. Lastly, most important, treat others as you want to be treated.

Fourth, review expectations. How do you expect them to act at school, during lunch, after school. If they have a phone, what are the guidelines for school hours?

That basically sums it up. Happy first day of school!
*If your tween has already started school, no worries. It’s not too late, no better time than the present.

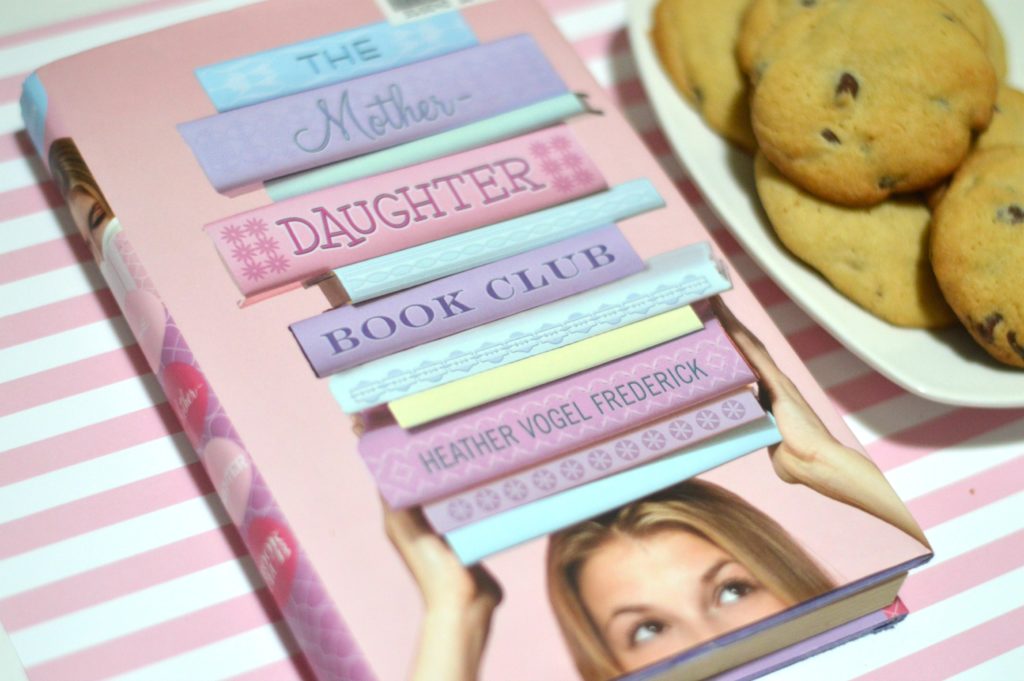
Mother Daughter Book Club

The Mother Daughter Book ClubThe Mother Daughter Book Club is a brand new hobby my daughter and I are engaging in. I saw the title of the book “The Mother Daughter Book Club” by Heather Vogel Frederick and I was instantly intrigued!
As you read the summary you quickly find out that it was one of the mothers that has the idea, and the (entering) middle school girls are roped into it. Among other things, there are some issues between the girls, it is middle school after all.

I usually research things, but this one I opted for in the spur of the moment. Since I was going into these books blindly, I decided we would read these together (aloud). This would actually be our “own” mother/daughter book club.

Here’s a little secret… I don’t really like reading. Reading never really grabbed me and sucked me in. There always seemed to be other things in my mind that had me distracted. But I wanted to do this for my daughter. Spend time with her elbow deep in something she loves!

This would be great practice for my speed reader daughter to read aloud. She LOVES to read to herself, just loves it. Sometimes we’re in the car and she’s reading of course… she just busts out laughing! I wanna know what’s so funny, but most of the time she responds “Mom, you wouldn’t get it”. Which makes sense, well written books create an environment, well described characters and without knowing the back story- I probably wouldn’t get it.

This time, I was gonna get it, I was gonna be in the loop! So we picked up the book and got started. Soon after I realized a few things and felt a smile come over my face. Mental note- good choice to read this together, I thought to myself.

Now as our tweens are growing “up” as they say, they need us less and less. This book however was giving me an opportunity to respond to her questions- what does this mean? and I loved that. I still have knowledge to share but sometimes it’s simply about the situation presenting itself.
Another thing I really liked, it provided a fluid conversation of recalling memories and sharing my own personal stories. As we all know kids can be great listeners, if they want too! Other times, we’ve (parents) been zoned out early on. So timing is everything, and I enjoyed the opportunity to discuss things together as they came up.

A couple days ago we pasted the part where a couple of the girls baked chocolate chips cookies, their way. So I got up, and suggested, “Let’s make our own chocolate chip cookies, just like the girls did”. It was a neat opportunity to connect to the characters and bake with my daughter, win win!

I’ll update this as we read more…stay tuned.

Decorative Frame Tray

This decorative frame tray can be used in any room of the house!

You may not know this, but I love frames! I’m not certain when my fetish started exactly but I’m always on the look out. So you can imagine when I saw this beautiful frame on clearance, a mix of a dark wood with gray tones, it was a buy now- figure out what to do later situation. Ever had one of those? I do all the time. Sometimes it’s just too much pressure on my little creative brain to have a plan within the moment 🙂

Lets get all our stuff together!
* 1 Frame
* Spray Paint (optional)
* Paint (accent color to the spray paint)
* Beautiful Handles


First, I choose to spray paint the back side of the glass. I wanted to have a little textured look through the glass. This brushed nickel color did the job perfectly! You could also spray paint a stenciled pattern, which would be cute as well.
Frame Tray Taping Pattern

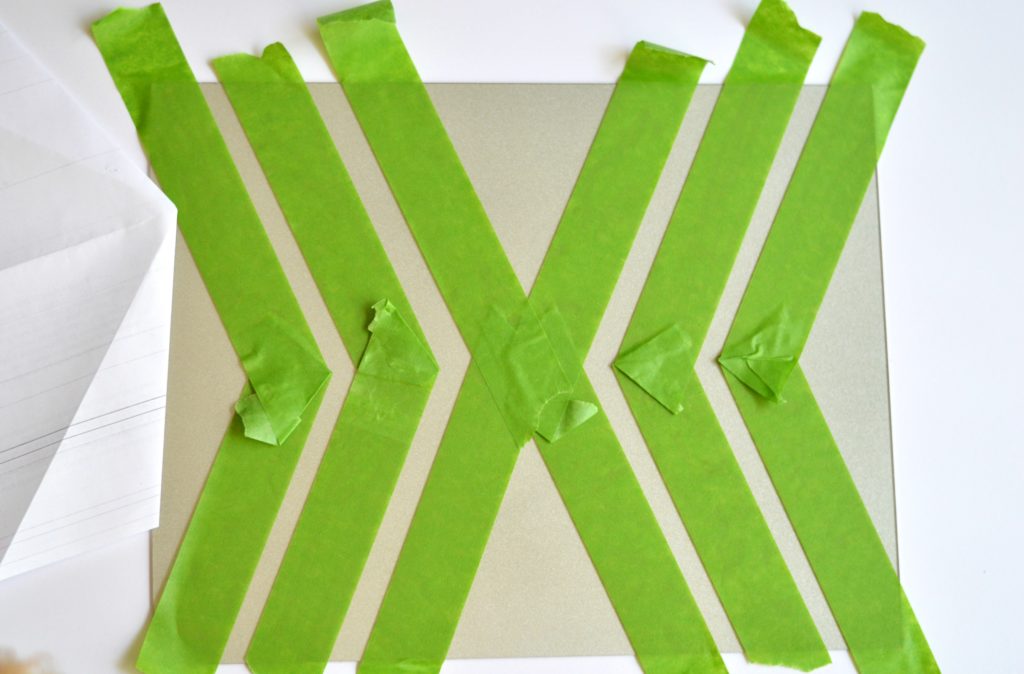
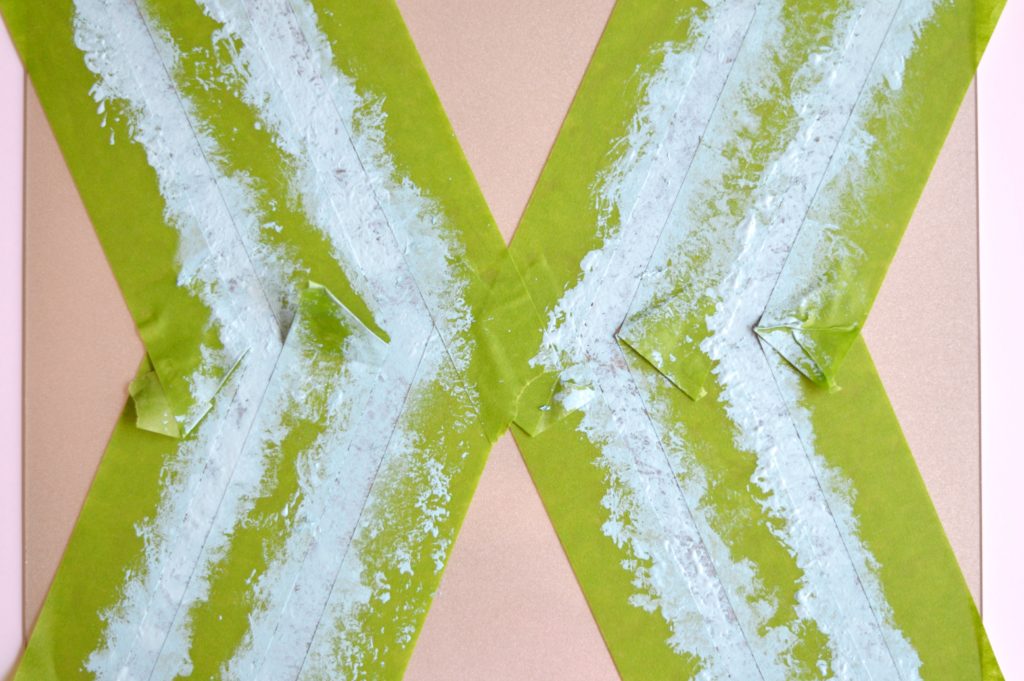
Second, decide on a pattern for the top of the glass. I have been loving this style so I decided this would be the perfect project for it. I’m very visual and I like things symmetrical- therefore I created myself a paper guide. Take out your favorite painters tape…blue vs. green- do you have an all star? Tape, tape then tape a little more.

Frame Tray Painting the Pattern

Third, paint within the lines. Hect- if you did your taping job well… paint on top of the lines too 🙂 I choose to use a color that matched my handles and one slightly different. Then, pull up the tape WHEN it’s still wet. I painted for years before I learned this tip.

Wood Frame Tray

Lastly, grab your handles and get ready to attach to the frame- to complete your frame tray. Whether you want to use the screws it came with, or glue the handles down.

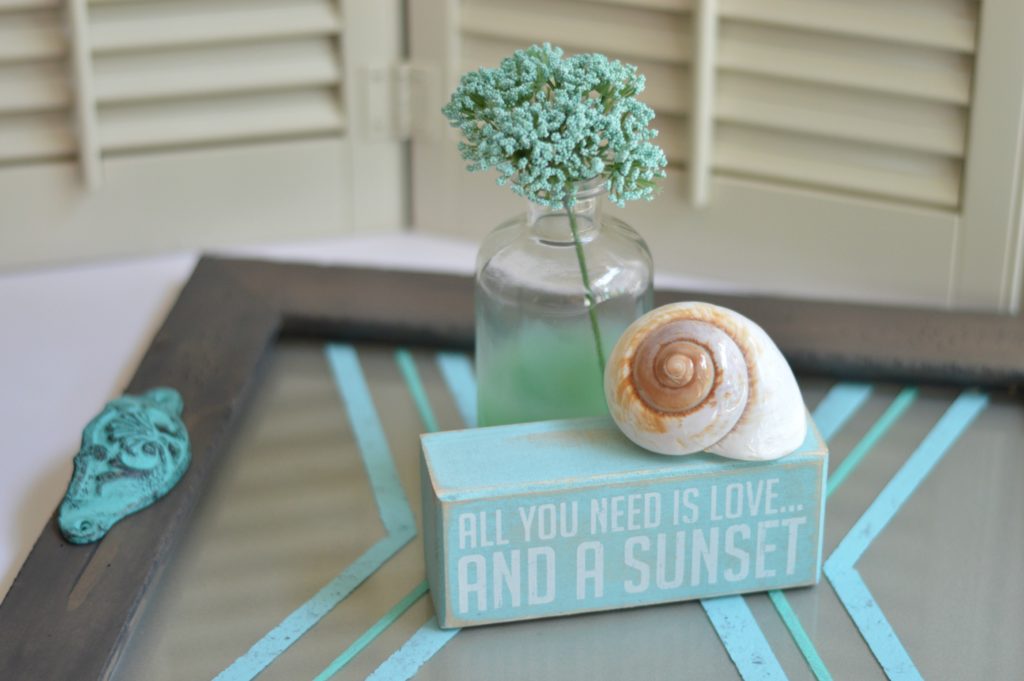
Now, add a few accessories and your ready to show off your unique creation!

Decorative Frame Tray

I’ve linked up at I Heart Nap Time!

link-party-palooza-button

CD Bathroom Passes

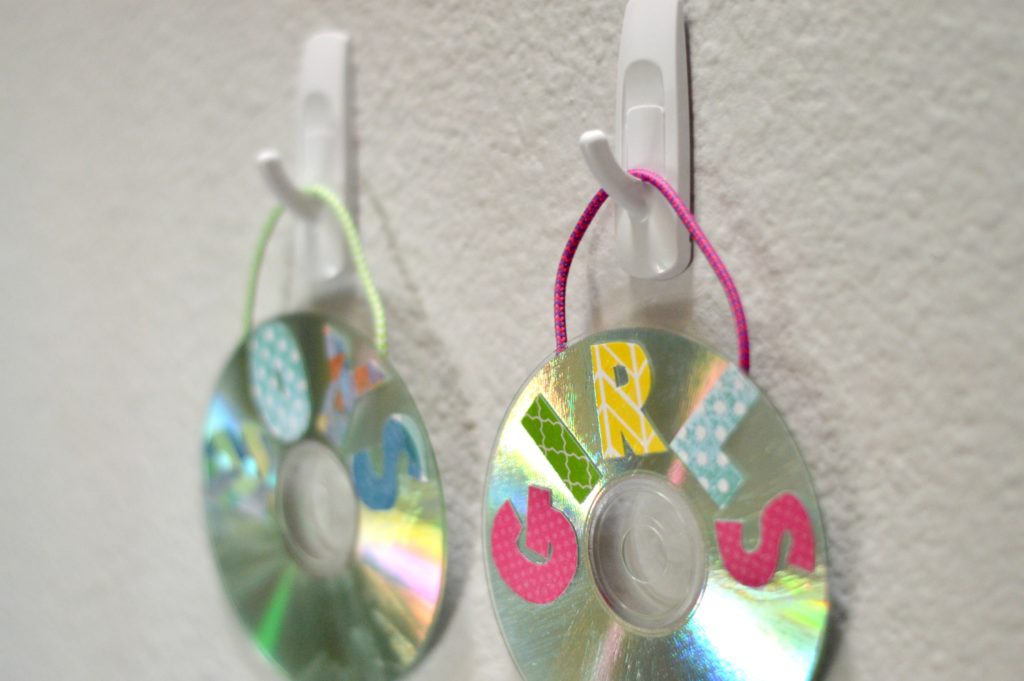
Computer Lab CD bathroom passes are a fun way to spruce up the mundane wooden version that many of us have.

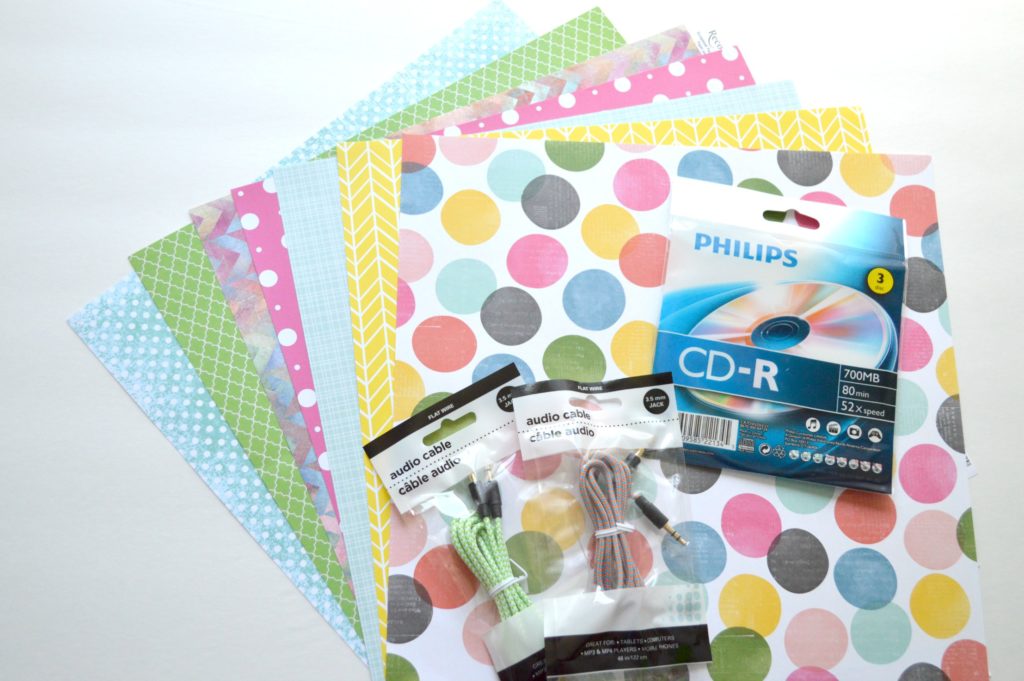
Since CD’s are really becoming a thing of the past, I’m always looking for a fun way to reuse them. You may have a bunch in your cabinet or you might need to pick up a 3 pack at the dollar store for this project.

CD Bathroom Pass Supplies

The supplies needed:
* CD’s (2-4)
* Scrapbook Paper
* Colored Cord’s (2)

Let’s get started!
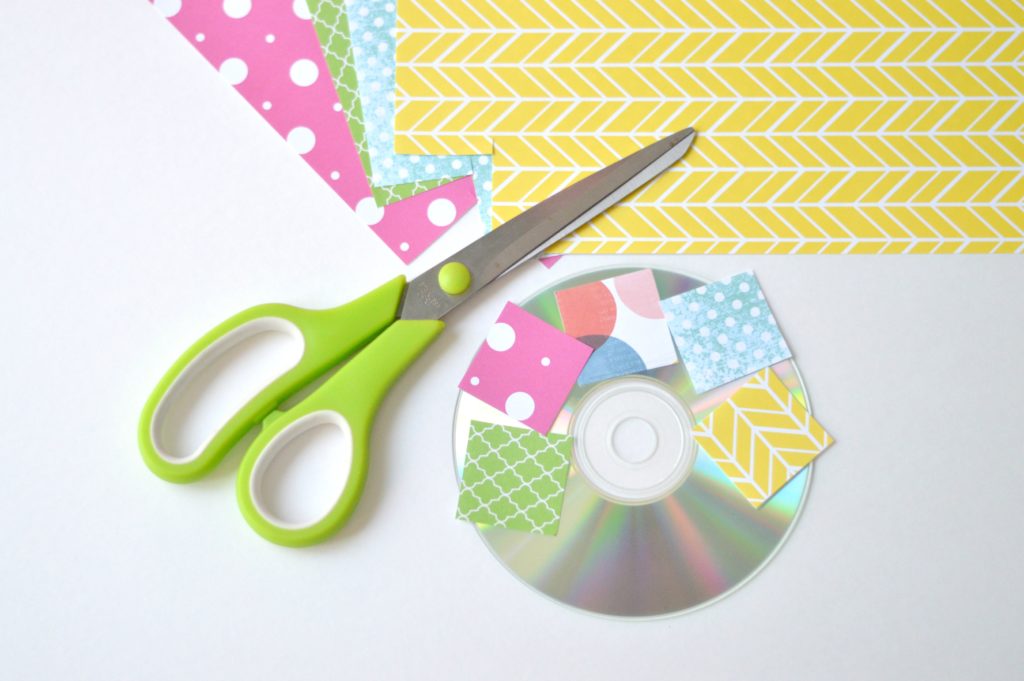
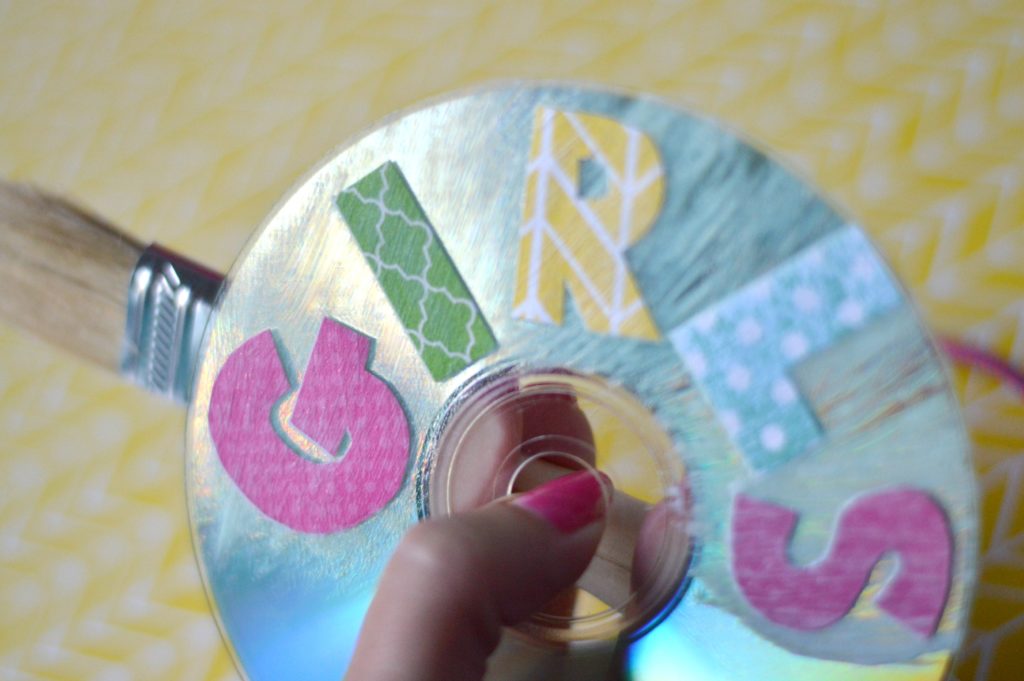
First, cut little squares of your scrapbook paper to judge the size of your letters. Many of you have awesome machines that will do most of this part for you- more power to ya 🙂 The rest of us, will continue by tracing the letters on top of the pattern side of the paper. Remember, drawing on the other side will make your letters backwards. Yep- I did this at first out of habit from other projects (trying to avoid lines on the finished project). Silly me!

CD Bathroom Pass Layout

Second, lay it all out. Are you like me? I usually change up at least one thing before I’m ready to glue. After all, it’s the details that count… even if I’m the only one that really notices. After it’s to your liking, glue those letters down to the CD- basic glue will be fine at this point.

Third, mod podge to finish off the top. Now, because you can see the strokes taken with the brush- choose wisely. Do you like the lines a bristle brush leaves? I preferred it for this project as the foam style doesn’t distribute the glue evenly.
CD Bathroom Pass

Lastly, add your colored cord for a handle. I guess this could be optional, but for me- it was necessary! Last year my passes didn’t have any sort of handle and they were placed… well, let’s just say I didn’t even want to touch them sometimes.
I found these packs at the dollar store and liked the color and the “tech” relevance. Simply measure and cut to your liking. I attached with glue to hold it firm in place.
*** Add a CD to the back for a completed look. Therefore the ends of the cord will be hidden between the 2 CD’s.

I might even make a nurse and office pass next. It’s nice to have a visual when a student is out of the classroom, don’t you think so?

Credit to my daughter! She came up with the idea of using a CD and reminded me of this while I was making these bathroom passes 🙂

CD Bathroom Pass

Glass Edge Stone Coasters

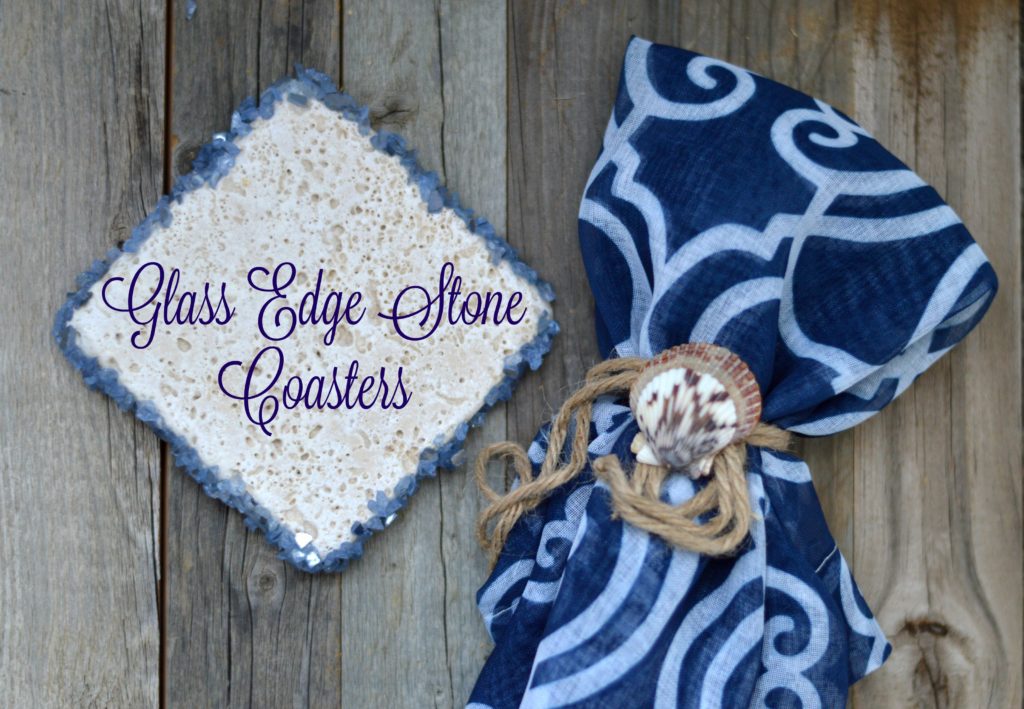
Glass edge stone coasters will add a love inspired detail to any table top!
As I was browsing the isles of Michael’s one day, I came across this bag of beauty. It was my new favorite color and had a mirrored backside- perfect. Buy now, figure out what to make later (ever feel that way?).
As I was sorting through my craft closet I came across these loose tiles. I loved the idea of combining the stone with visible character and the modern vase filler!

Glass Edge Stone Coasters


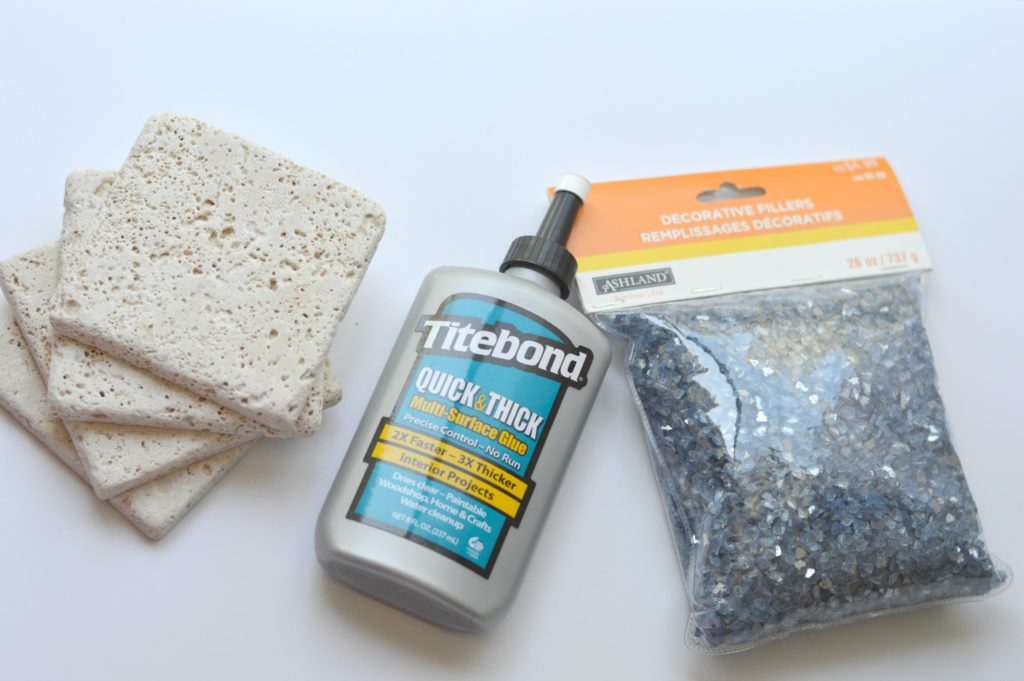
Let’s gather everything you need:

  • Stone tiles
  • Vase filler
  • Clear glue
  • (Optional) Matching paint to add details on top

Supplies for Stone and Glass Coaster

Step 1
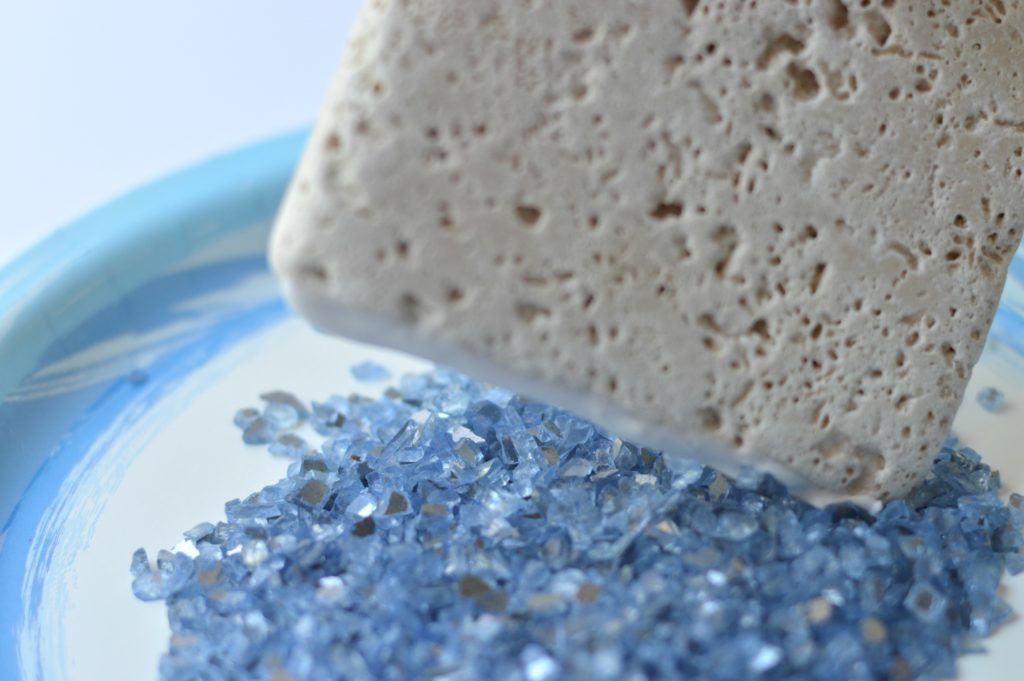
Lay out your beads on a paper plate. Grab your glue and apply it to one side of your square tile. Usually you hear less is more, but for this project I would use a good amount. It’s then easier to manipulate the tiny glass pieces when you know it’s secure.

Making of Coaster

Step 2
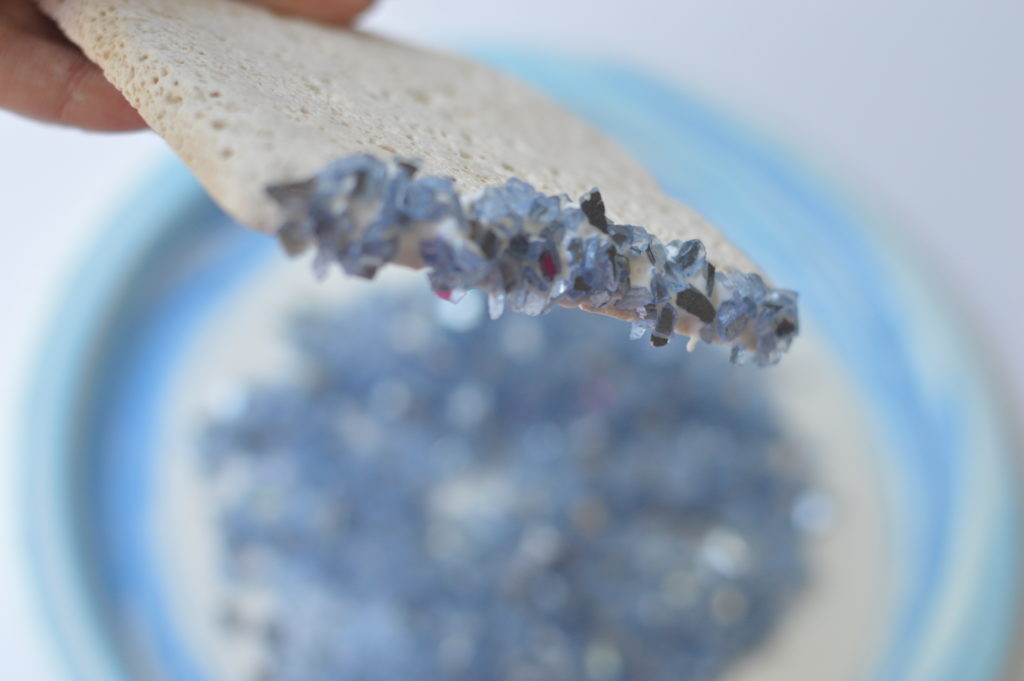
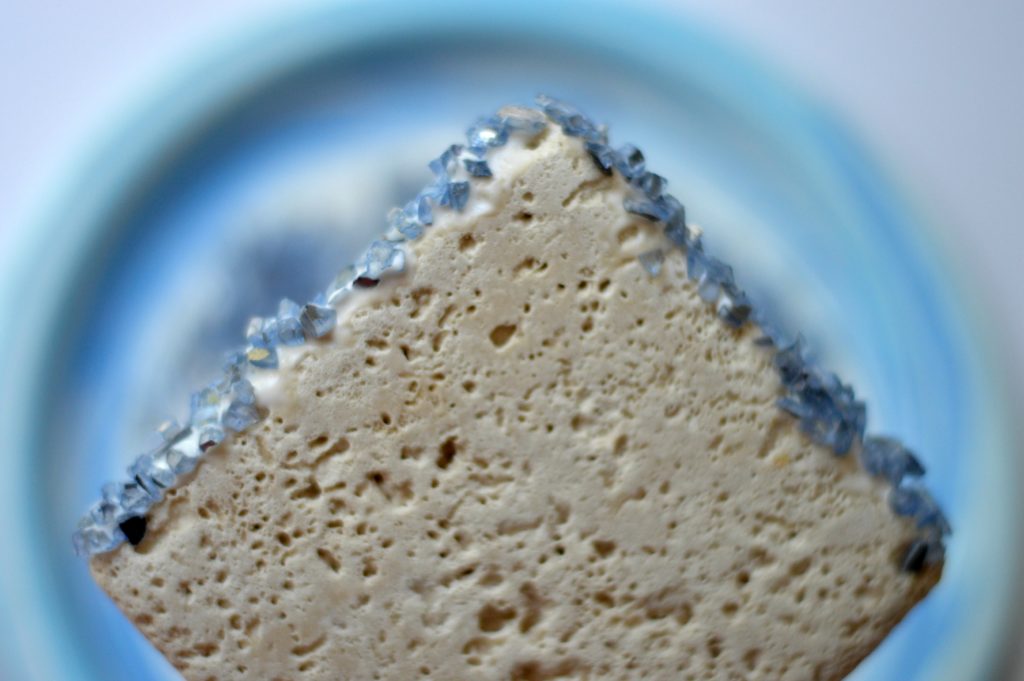
Now you will roll your tile (with the glue side down) through the stones on the plate. Use this opportunity to fiddle with the glass while the glue is wet. I did two sides at a time, then waited a little bit for it to harden- making it easier to work with the last two. Repeat this step for each side of your tiles. Each one will look slightly different but similar.
**Note- look at each edge after rolling to ensure nothing is blocking the tile from laying flat. Sometimes there can be a  few stragglers hanging over the edge.

Glass on One Side
Making of Coaster 2 sides

Step 3
Lastly, seal and soften! A coat of mod podge will seal it all up. Softening refers to adding something on the bottom. This could be felt, or cork- whichever floats your boat.

Stone Coaster with Glass Edging

Pieced Pastimes


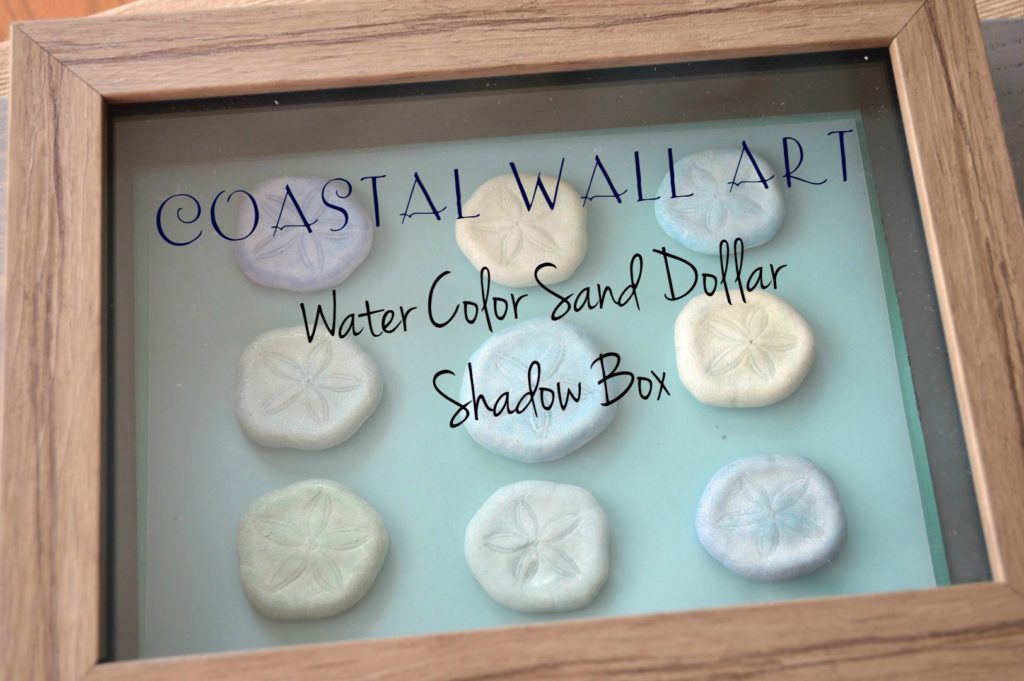
Coastal Wall Art- Water Color Sand Dollars

Water Color Sand Dollar Wall Art Pin

I know we are still getting to know each other, but one of my favorite things in the world- is the beach! It’s beauty and serenity is intoxicating. So naturally, I love to recreate that feeling at home whenever possible.
Merge that with my wall art fetish, and I present to you- Water Color Sand Dollar Shadow Box!

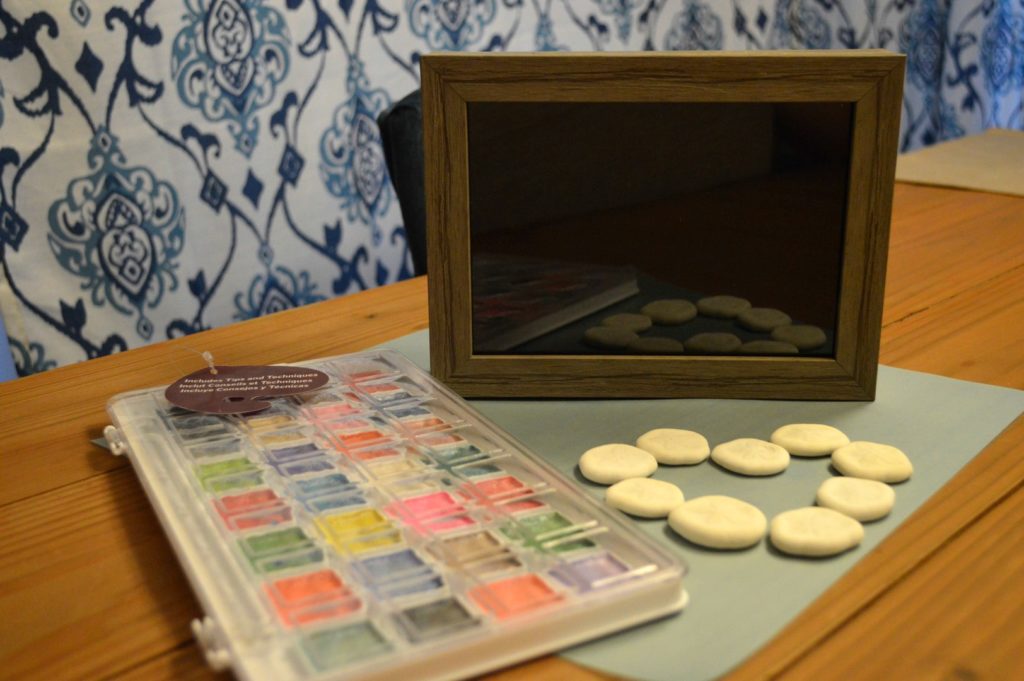
Item Set up for Water Color Sand Dollar Shadow Box

Things you’ll need:

-Shadow Box

-Sand Dollars or Sea Urchins

-Metallic Watercolor Pallet

First grab your brush (or Q-tip), cup of water and your pallet- let’s get started!

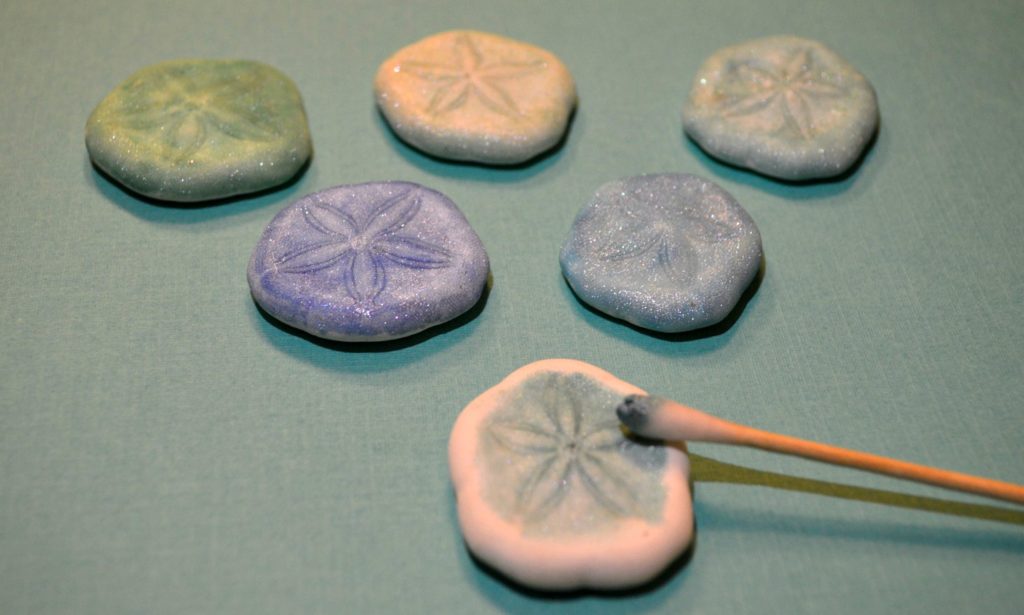
Second, take your first sand dollar (or sea urchin) and begin painting. I love these watercolors because the shimmer is present but not overwhelming. I choose to paint each one slightly different. For me- that looked like using less water and more strokes within the color similar colors.

Painting with Metallic Water Color- Sand Dollars

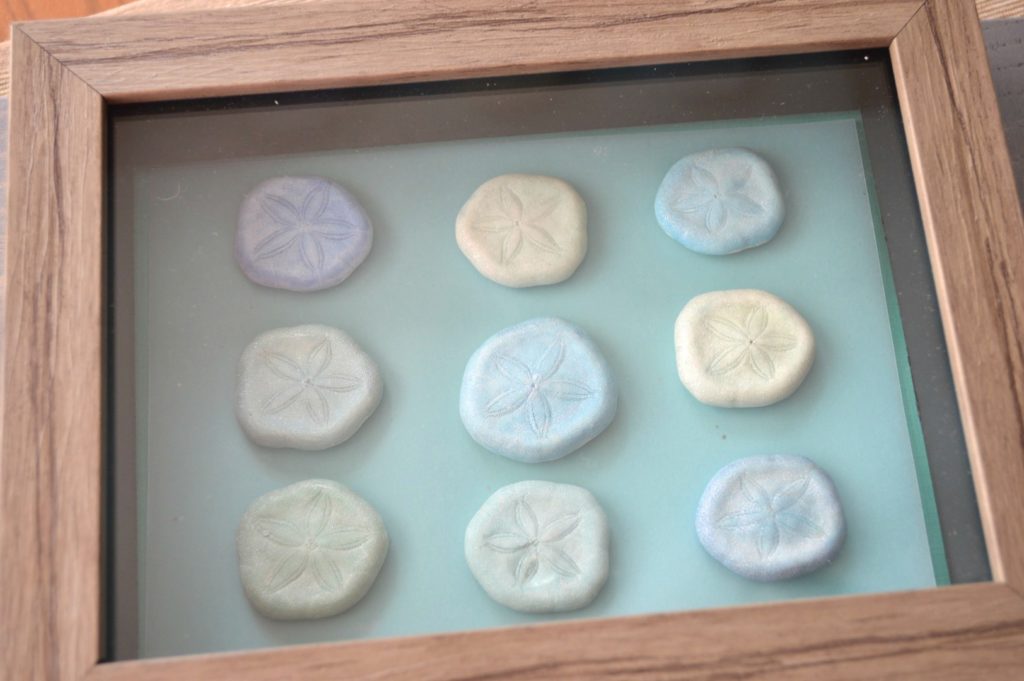
Third, combine all 9 pieces on top of the shadow box to arrange before gluing anything down. After you have them spaced apart to your liking, begin gluing them down. Make sure to include a generous amount of glue to each one, and hold it for a minute to ensure proper bonding.
I use hot glue for most projects but there are a few other options as well. Gorilla glue, tacky glue or an all adhesive glue would work as well.

Water Color Sand Dollar Wall Art

I hope you love your Chic Coastal Wall Art as much as I love mine 🙂


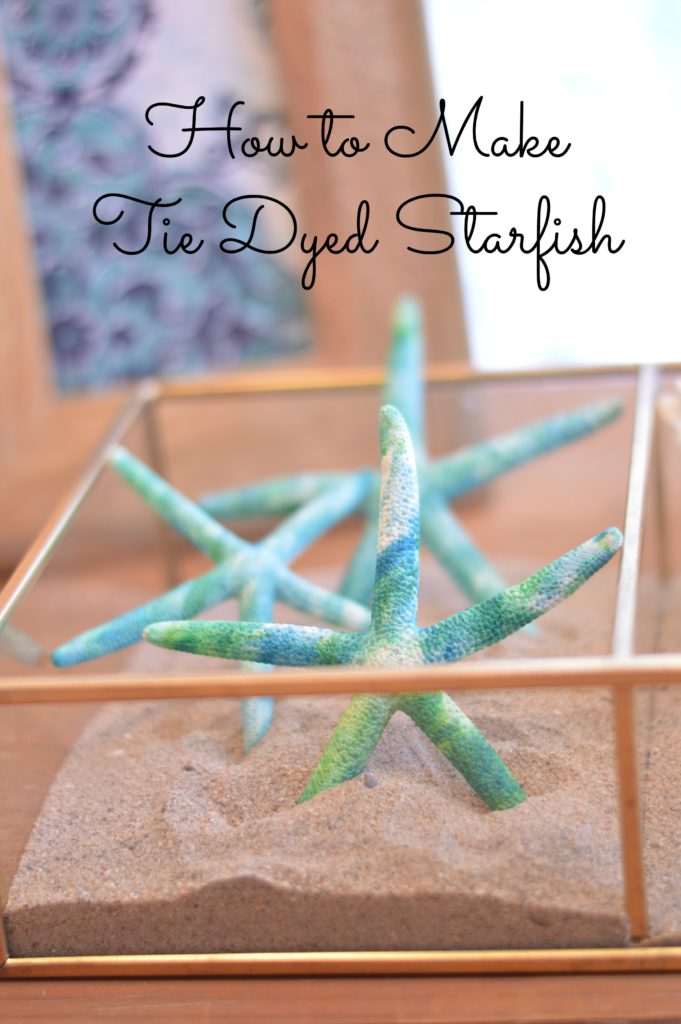
How to Make Tie Dyed Starfish

Pinnable- Tie Dye Starfish

I love starfish- I always have. They are beautifully simplistic, don’t you think so?
Today I’m going to add some fun flare to the standard starfish with a tie dye effect. Oh yes, it’s gonna be fun and in the end- you’ll have a unique display.

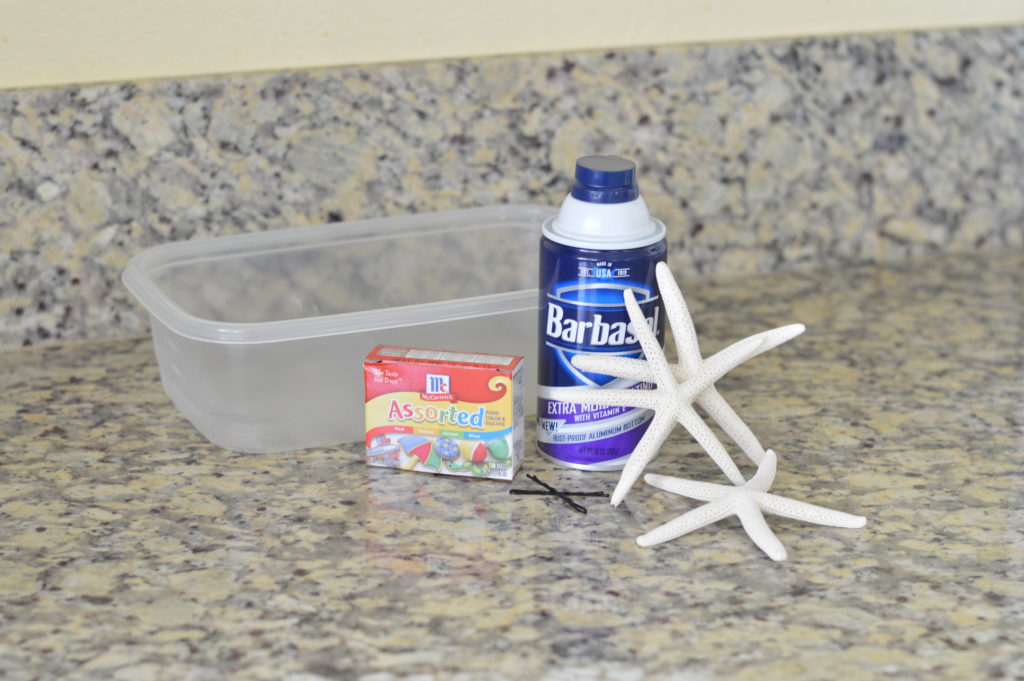
Let’s get started… here’s of your list of things to start with:

  • Multiple Starfish (your choice on size, amount and width)
  • Shaving Cream
  • Food Coloring
  • Tray
  • 3 Bobby Pins

Here’s my layout:

Set Up

Step 1
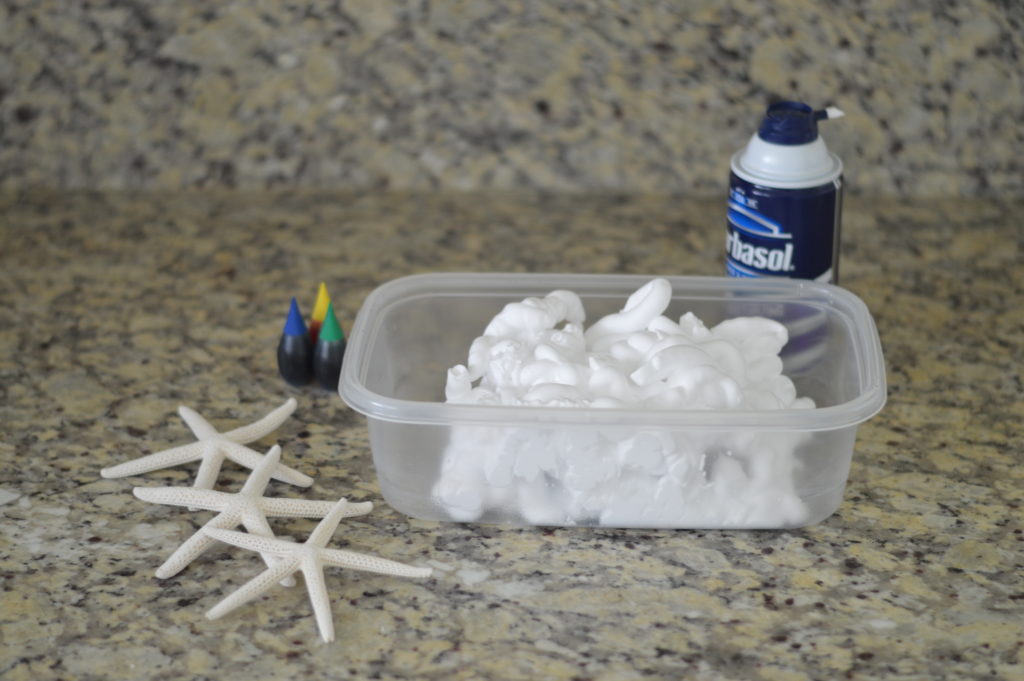
Hold that button down and fill your tray with shaving cream. I’m not sure about you, but I love the smell of shaving cream. I like to pile high but evenly so I can scoop off the top layer if I don’t like the way the colors mixed.

Set Up

Step 2
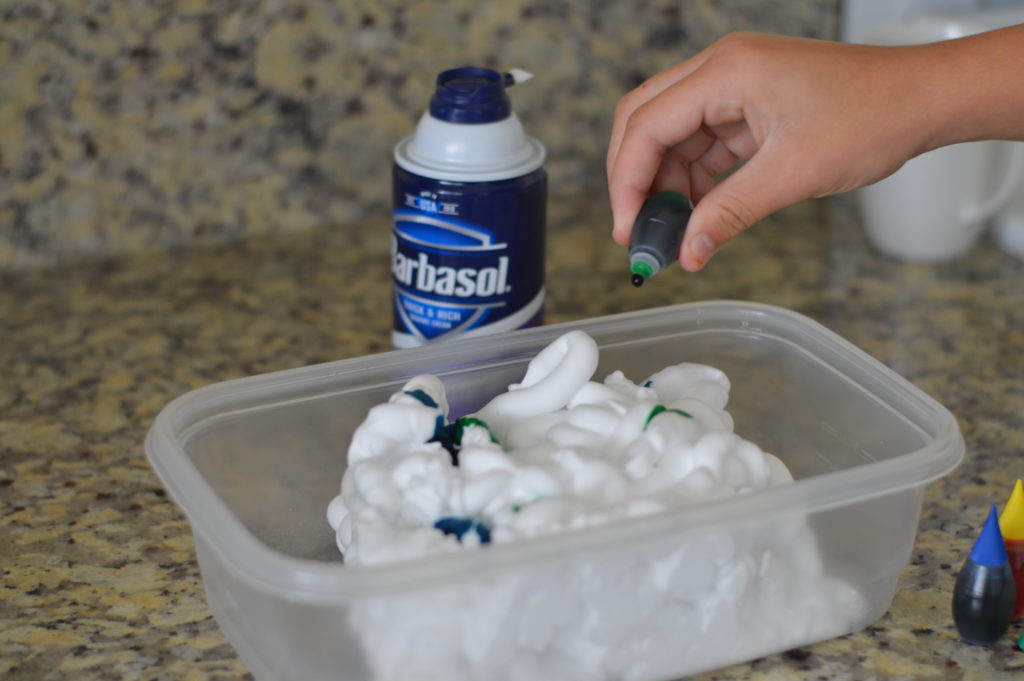
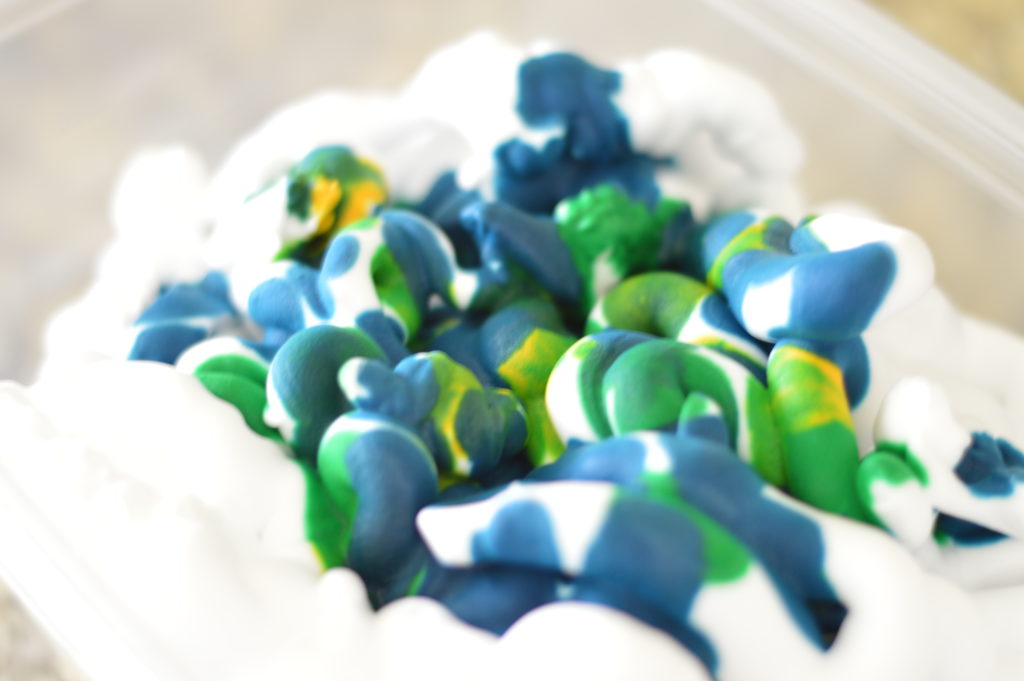
Now we’re going to add in the food coloring. Here is where you will insert your own style or color palette. I wanted blues and greens so I stuck to only using yellow, green and blue. Since the shaving cream is white, I took that into account. So, in some areas I only used a drop or two (mixed with white it provide  lighter color). Then added a few more drops in other areas. This will provide a darker colored starfish.
For my last 2, since I wanted them lighter- I only added one drop of color every inch or two. This produces a much lighter outcome (which I really liked).

Food Coloring

DSC_0366

Step 3
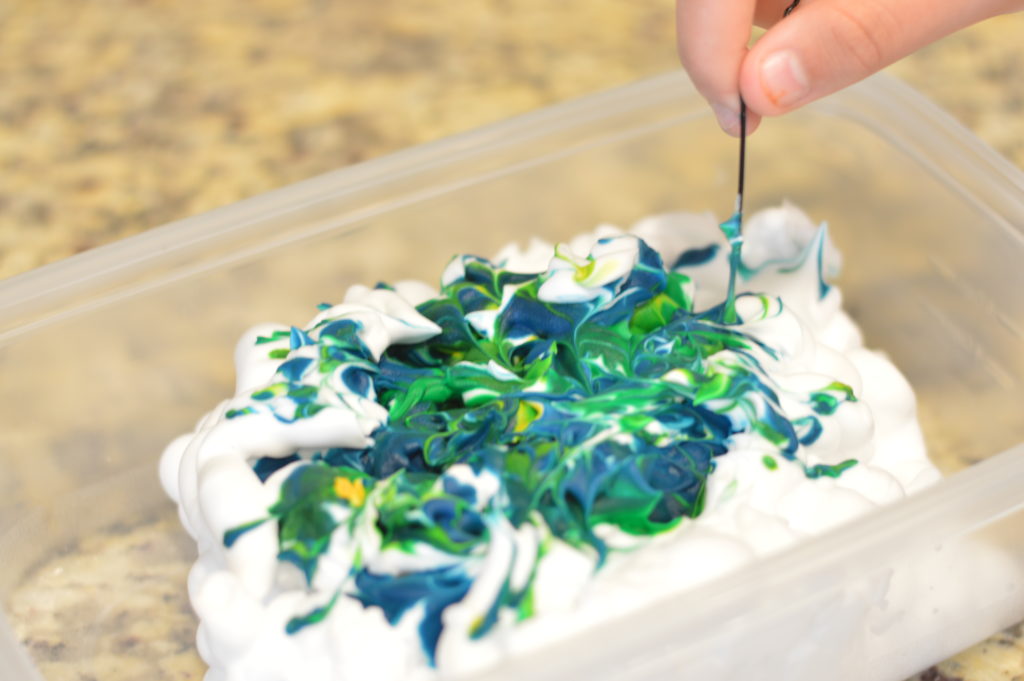
Grab a bobby pin and spread it open. You could also use a toothpick, I just didn’t have any on hand. Then use them to swirl the colored shaving cream. Again, have fun with this part and add your own flare. I would advise starting with small movements first because you can always add larger swirls. Every one is pretty much going to vary slightly- or greatly if you wanted it too!

Colored Shaving Cream

Step 4
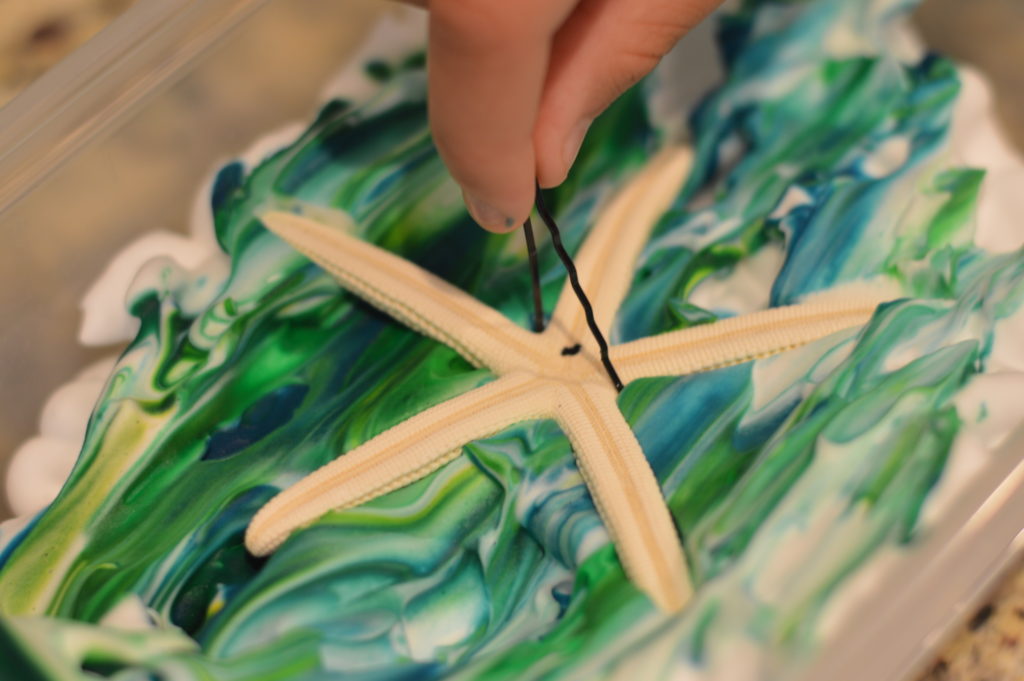
Can you see it starting to come together? This is probably the funnest part (that’s a word right- either way I’m going with it)! Take your starfish, while using the bobby pinned (opened slightly) holding on the edges… and DIP it into the colored shaving cream. I like to just dip, but I suppose you could swirl it around too. By dipping, I feel in more control of the colors and design but that’s just my opinion.

Dipping Starfish

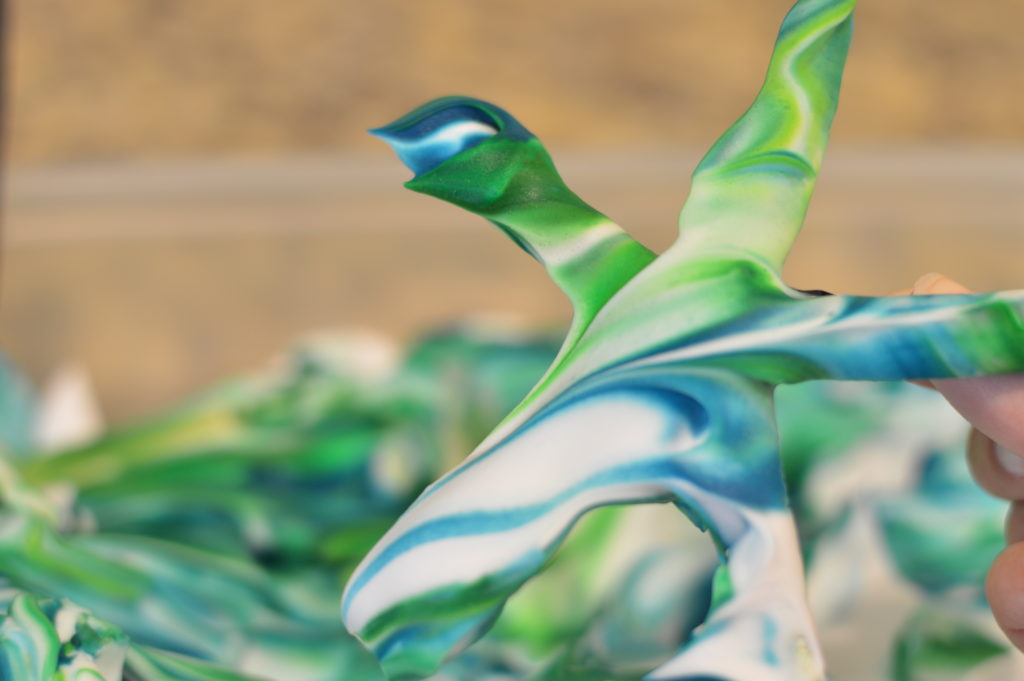
After Dipped

*You will want to wipe down the excess shaving cream with a napkin. This step can be messy so beware.

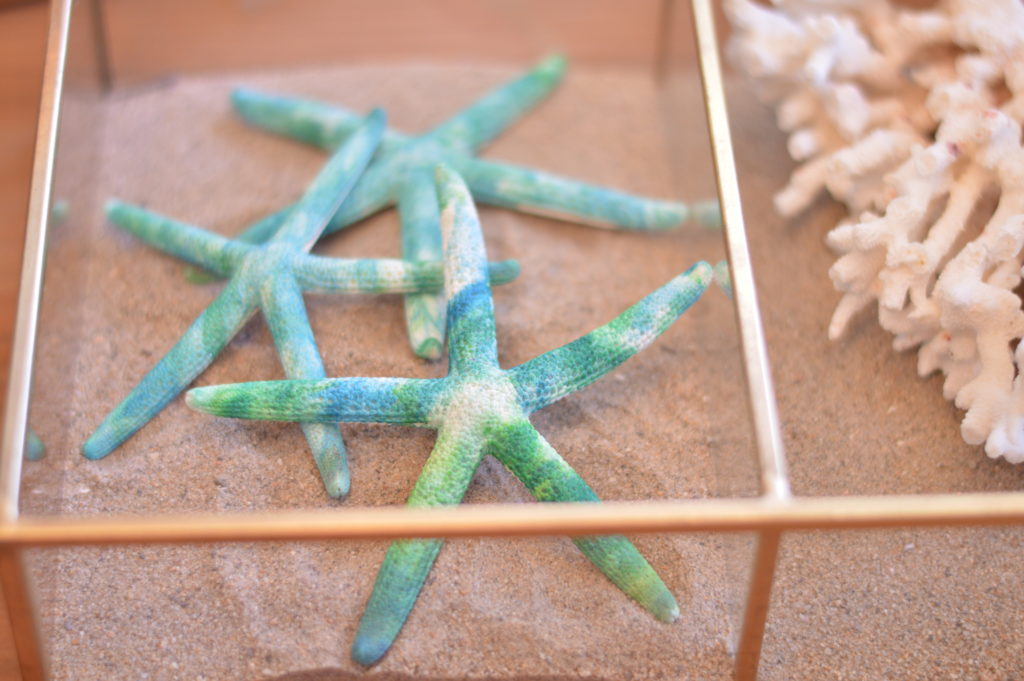
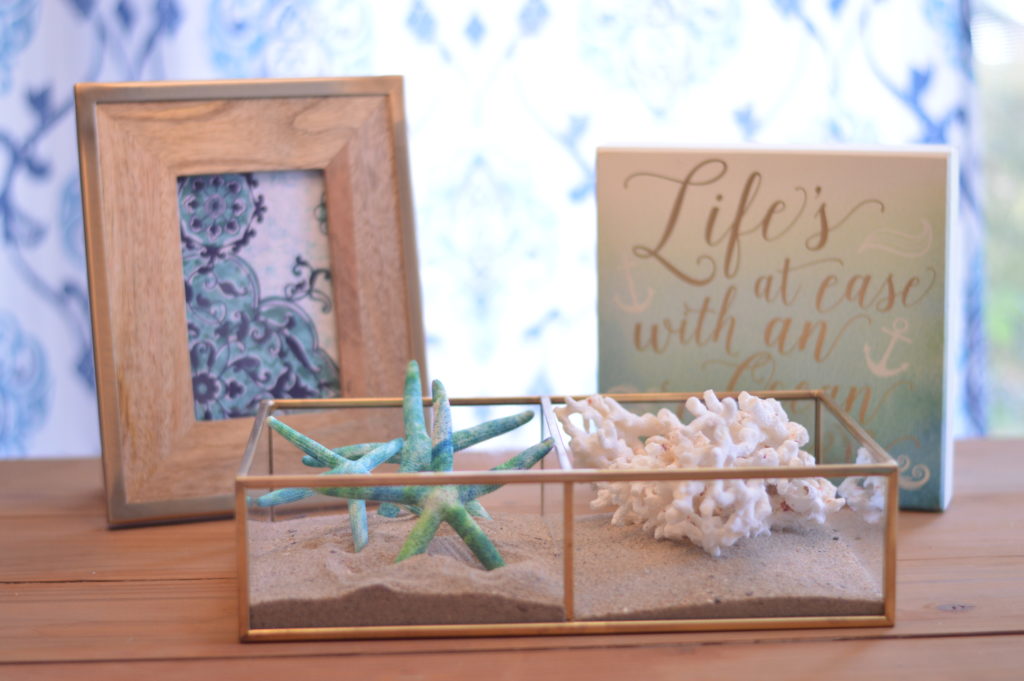
The final product!      Finished Starfish               Staged Starfish

What do you think? Bright colors would be pretty too, there are many possibilities!
Thanks for reading 🙂

Pretty Pintastic Party