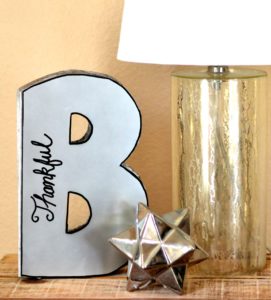
I love how this DIY mirrored letter turned out!

Grab the goodies to get started:
*Cardboard Letter B (I actually made mine, a tutorial coming in an upcoming post-wink)
*Piece of Plexi Glass (I used a piece that was 8×10 from an Ikea frame but they also sell a variety of sizes in the craft store)
*Exacto Knife
*Mirrored Spray
*Paint pen or Sharpie
Let’s jump in and creating because I’m excited.
First, grab your cardboard letter. They seem to be all over these days. They’re inexpensive as well. One thing I’ve noticed, cardboard letters seem to come in a few “set” sizes. That’s why I’ll show up in an upcoming post how easy and free it can be to make your own custom sized cardboard letter.
Trace your cardboard letter onto a piece of paper as a template.

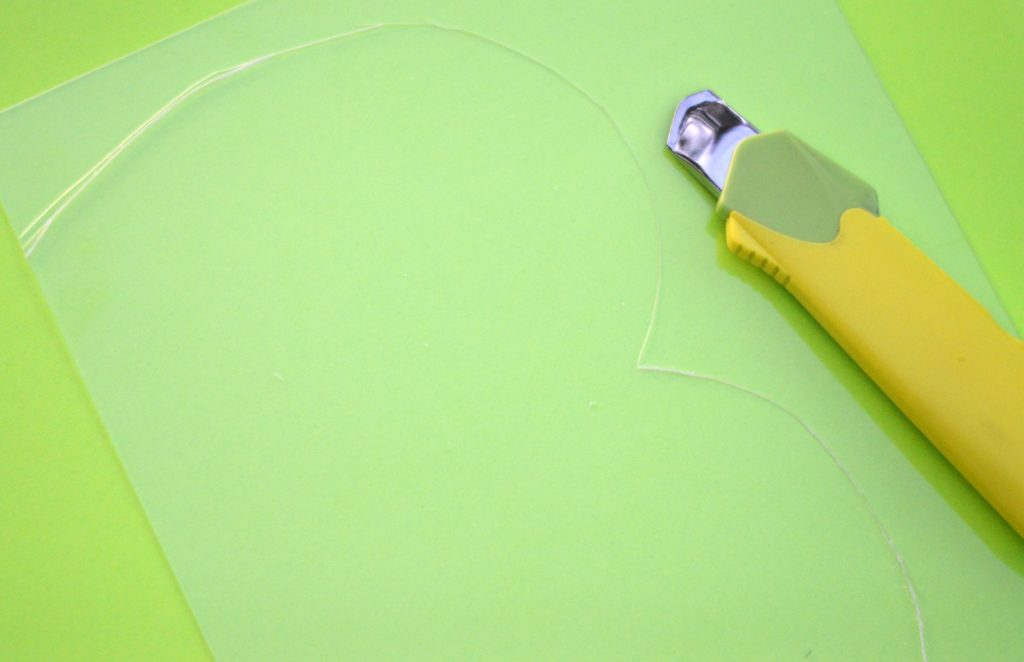
Second, take your template and SLOWLY begin outlining on the plexi glass. This first impression is important, so make sure you go slow and steady.
Also, use the natural straight line edge, don’t work anymore than you have too. So basically, you’re only tracing the two curves of the “B”.
Now that you have the first cut, you will continue to go over those lines multiple times. Again, slowly is the key! Every time you go over a line it will get easier and is cutting the plexi deeper.

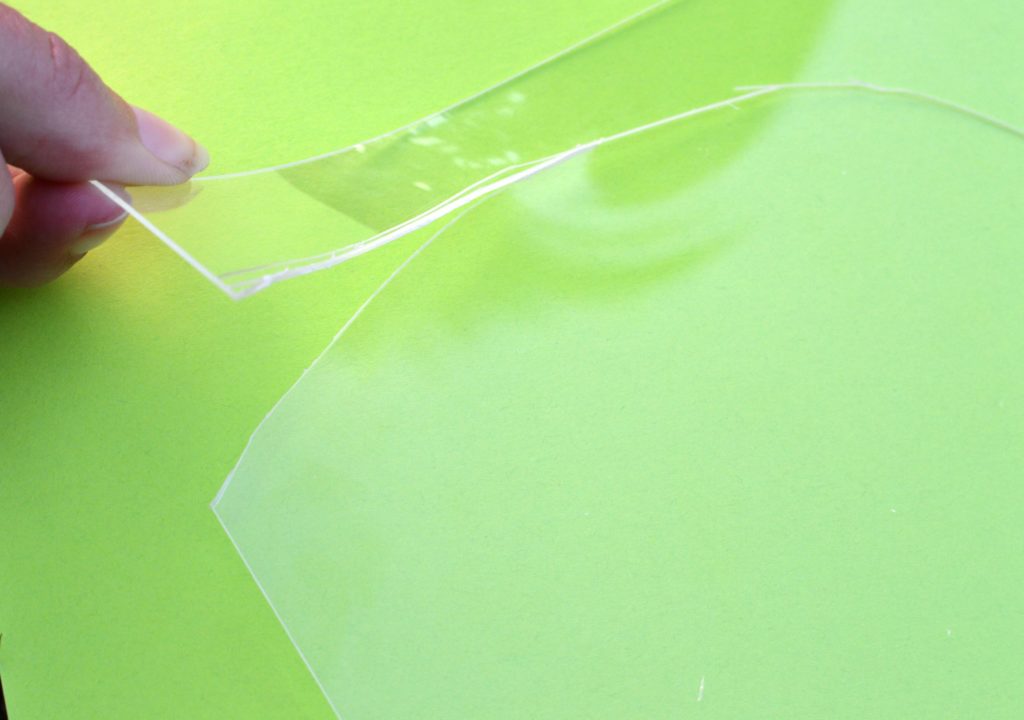
Third, this step is meshed with the step above really. You will be tracing with the exacto knife and starting to punch out the letter. Be gentle and don’t force it. The plexi will talk to you, lol, if it’s ready it will easily separate… if not, it needs a little more exacto knife lovin’.

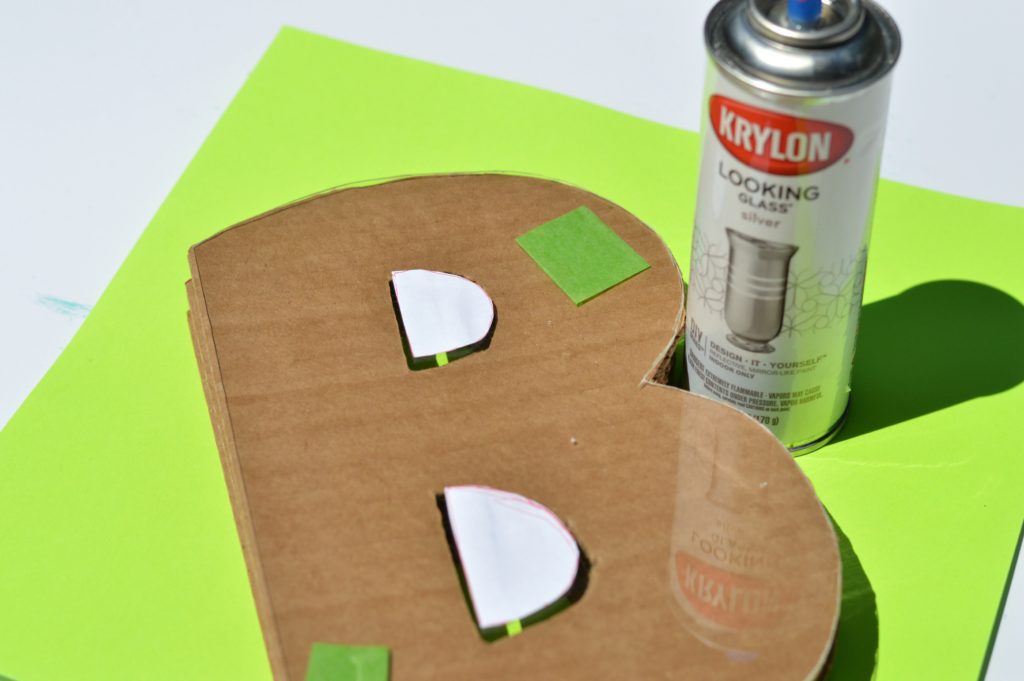
Next, comes that beautiful creation- mirrored spray paint. I remember when I first discovered this, it was such a happy day 🙂 I’m going to confess something, are you ready…I never actually read the directions. I’ve spray painted for years and as a result I’m in the habitat of picking up a can and pressing the button.
BUT, this can clearly states to spray paint the reverse side. Did you know that? If not, you can count that as your new knowledge for the day.
Optional– spray paint your cardboard letter with a silver metallic spray. I like the multiple options available here. If you want a universal look, I advise painting the letter. However, if you want a contrast- leave the letter natural or give it a wood stain look.
Lastly, put it all together and add an impact with a single word! I chose thankful but a few others that would work well: grateful, happy, beautiful. I used a black paint pen yet a sharpie would also work.

It’s simple yet something different which is what I love about it:) Thanks for reading!


Great idea! I’ve been scouring stores for the number ‘5’ which is surprisingly hard to find. I know in the back of my DIY mind that I’ll have to make one. This is good inspiration. Visiting from Link Party Palooza.
When all else fails, DIY right?! You can make it any size as well, that’s another reason I love it. Thanks for visiting.
Thanks for sharing on the Pleasures of the NW’s DIY party-and don’t forget to leave a comment at the party – Next week’s features that also leave a comment get pinned and tweeted!
Great DIY, LOVE this idea and will definitely be trying! Thank you for sharing!
Thank you! I’d been wanting to complete this for a couple months and I’m happy with how it turned out.
love how it turned out sharing and pinning
Thanks, I appreciate you sharing!
This is such a great DIY project. Thanks for sharing with us at Family Joy Blog Link Up Party #34.
Thank you 🙂
Really cute. Great instructions and “warnings”. Thanks for sharing with #overthemoon
What a cute idea!! Love it.