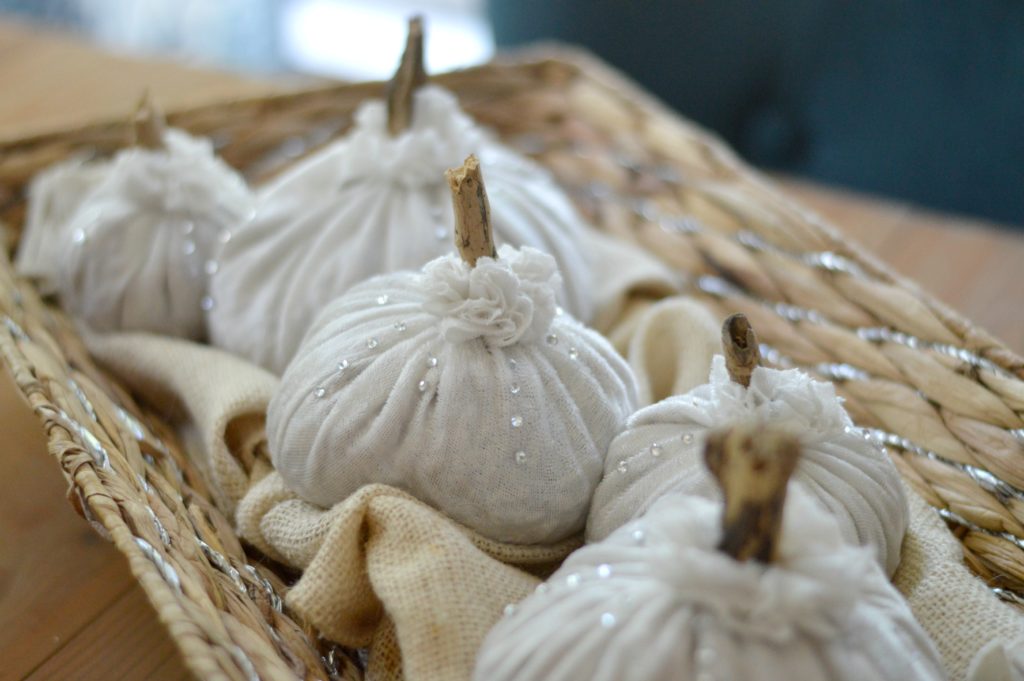
These DIY Velvet Pumpkins mix a splash of glam with soft neutral colors!
I grouped them together for my table centerpiece, but you could also add them to bookshelves or side tabletops, so many possibilities.
Here’s what you’ll need:
-Crushed velvet fabric (I found some at Jo-Anns on sale for $3)
-Package of adhesive rhinestones (on sale for $1.50)
-Pieces of driftwood
-Packages of beans (I bought 3 bags from the dollar store)
-Rubber bands
Step 1
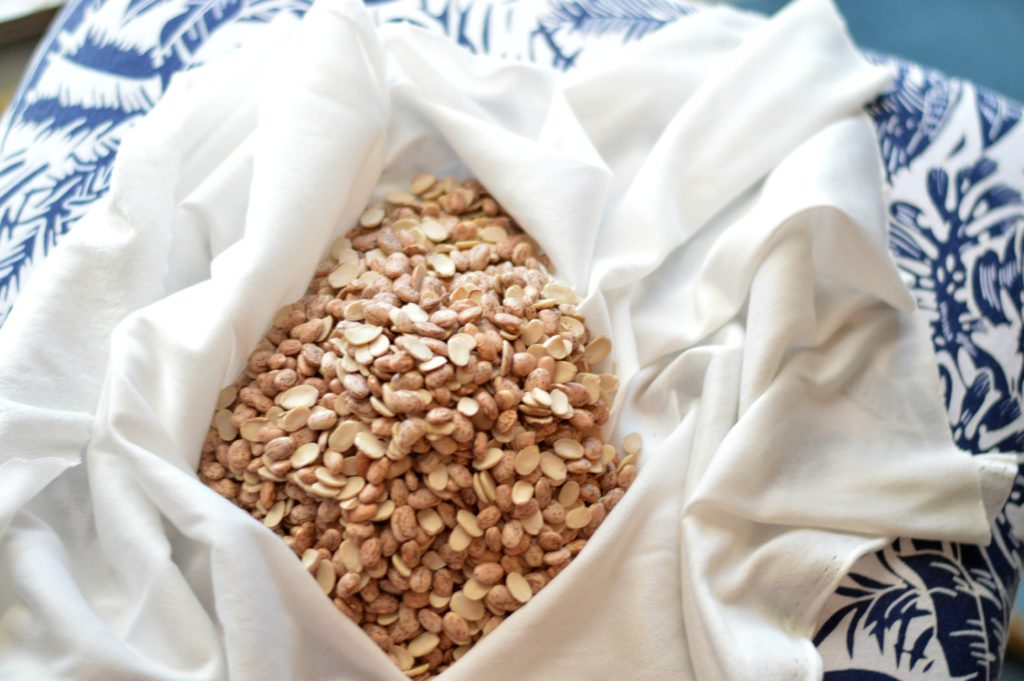
Take your velvet out and cut a section for your first pumpkin. The best part is there is no wrong size. Just about any size of fabric can make a pumpkin. I the center of the fabric and started pouring in the beads. A helpful tip- you can use your fist with the fabric wrapped around as a visual for the ultimate size of your pumpkin.
Start pouring those beans!
Step 2
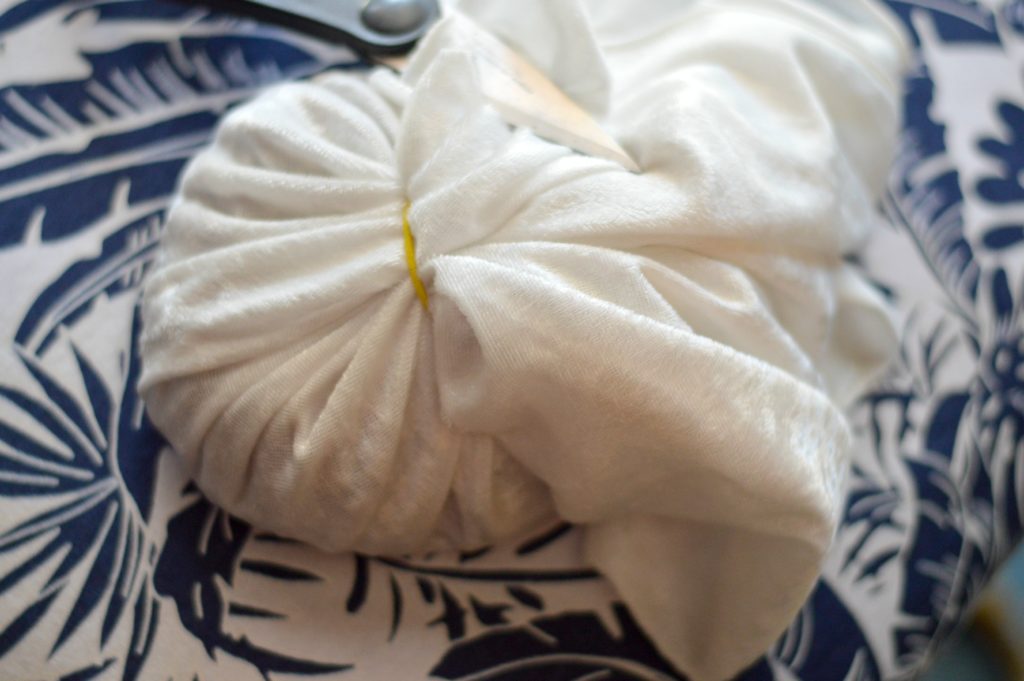
Gather up the velvet around the beans and close it with a rubber band. Trim up the velvet so you have just a little bit of fluff. I liked this look, and it covers the rubber band!
Step 3
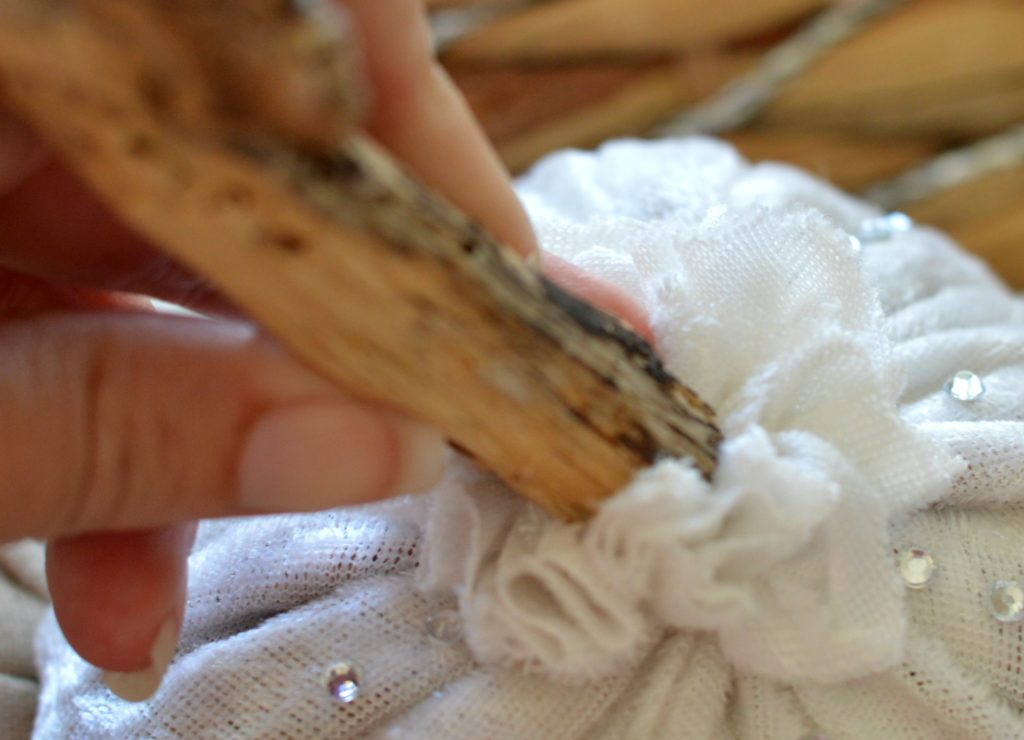
Add in the driftwood stem. The beans make it so easy to insert the wood while still keeping the perfect shape!
Step 4
Add some glam. These adhesive rhinestones are so easy to work with. I added more on the bigger velvet pumpkins and made it symmetrical because, well, I really like things symmetrical 🙂
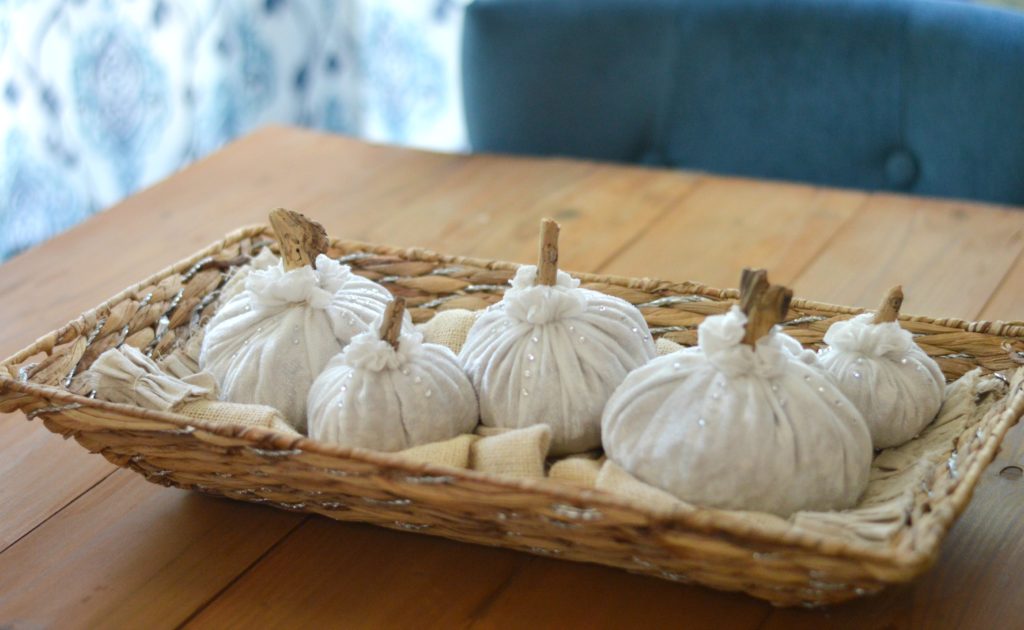
That’s all, now you have your easy to make velvet pumpkins. Of course you can also make these in shades of orange if you are a traditionalist. I use to be, but I’m trying to branch out.
Happy Fall!
Places Love Inspired Details likes to party!


So pretty!! Visiting from Paula’s No rules party
SO far behind – You also shared on the DIY party at Pleasures of the NW – Thanks for sharing this beautiful project!
Thank you! I think they turned out just like I envisioned, which is rare 🙂
I don’t think I’ve ever seen cuter white pumpkins!!
I am sooo about cute and easy!!
Thanks for posting this on Labor Day Meet and Greet!
That’s so kind, thank you!
Looks sooo pretty!!! And they are really easy to make. Thanks a lot for linking up with the Family Joy Blog link up party. xoxo
-Shamira
Thanks, and very happy to be apart of your link party 😉
Those are such pretty pumpkins and I’d never guess how to make them. Thank you for your tutorial! Hope to see you link up again at the #HomeMattersParty
Such kind words, thank you. I love pretty and easy in the same project!
You’re welcome! I think they are so clever for Fall decorations. I am pinning this post to my Pumpkin Decor board. #HomeMattersParty
Thank you and they’re so easy to make!
These are very pretty. Thanks for sharing at Home Sweet Home.
Thank you!
I will feature them tomorrow at HSH!
Awesome, thank you!
These are gorgeous and so clever! Pinned and sharing for sure! Thanks for sharing on Family Joy Blog Link-up Party. Have a great week!
Thanks for your kind words and I appreciate you spreading the love!
I love the gemstones! Such an easy and pretty way to add some glam to your fall decor. Thanks for sharing your tutorial with us at Merry Monday this week!
It’s all about the little details, right!
These are adorable…and they seem really, easy…even for a non-crafty person like me. Found you on #overthemoon !
Thank you, and yes they really are easy to make. No sewing or heavy craft skills needed.
Crystal,
I love your pumpkins and the great tutorial. You are my pick at Over The Moon party. Stop by on Sunday.
Hugs,
Bev
Yay! Thank you, I’ll definitely stop by Bev. You’ve put a smile on my face 🙂
Those turned out beautifully! I would never of thought of using beans, that’s great! #HomeMattersParty
Beans make them so pliable!
Those are lovely! I love the neutral color and the texture. So nice to be co-hosting with you at #HomeMattersParty.
I really love the look of these… it really goes with my decor.. and its easy!! Thanks for sharing!
#homemattersparty
Love these pumpkins. They look so elegant and easy to make, Crystal. Great to be co-hosting with you. #HomeMattersParty
Love the crushed velvet pumpkins! Thanks for co-hosting #homemattersparty
Thank you 🙂
Love these! What a great fall craft. Thanks for sharing at Family Joy Link up this week. 🙂